Make sure to read my previous post on NetApp Virtual Storage Console product suite, where I go over features and benefits.
Login to NetApp support website and download the supported version according to the IMT.
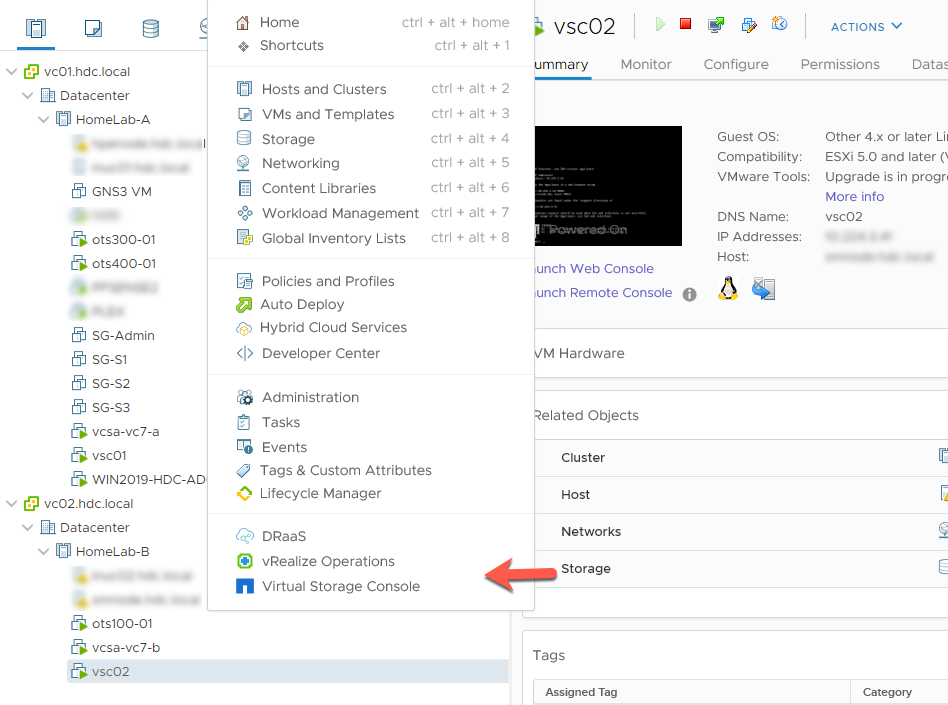
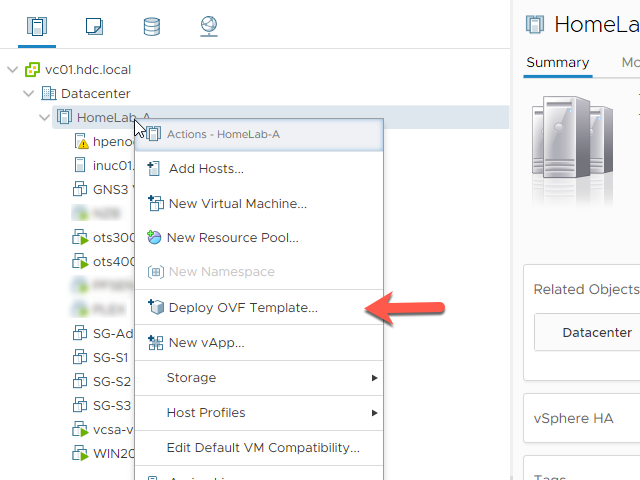
From each vCenter, deploy the NetApp VSC OVA
![](http://hybriddatacenter.net/wp-content/uploads/2020/07/2020-07-17_12-09-37.png)
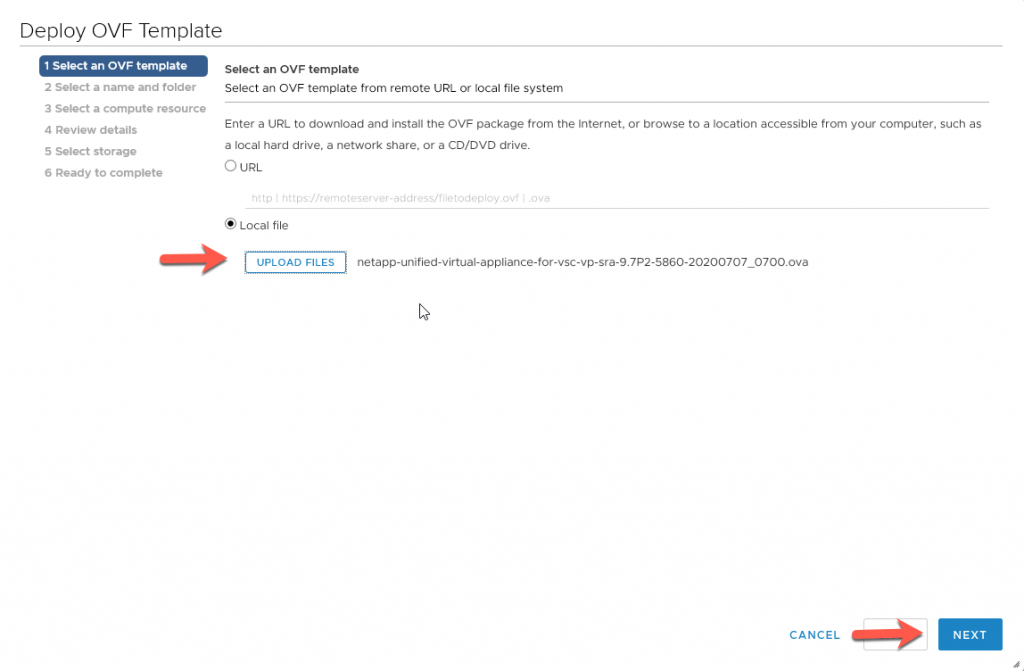
Click the Upload Files Button and attach the NetApp VSC OVA, Click Next
![](http://hybriddatacenter.net/wp-content/uploads/2020/07/2020-07-17_12-10-44-1024x671.png)
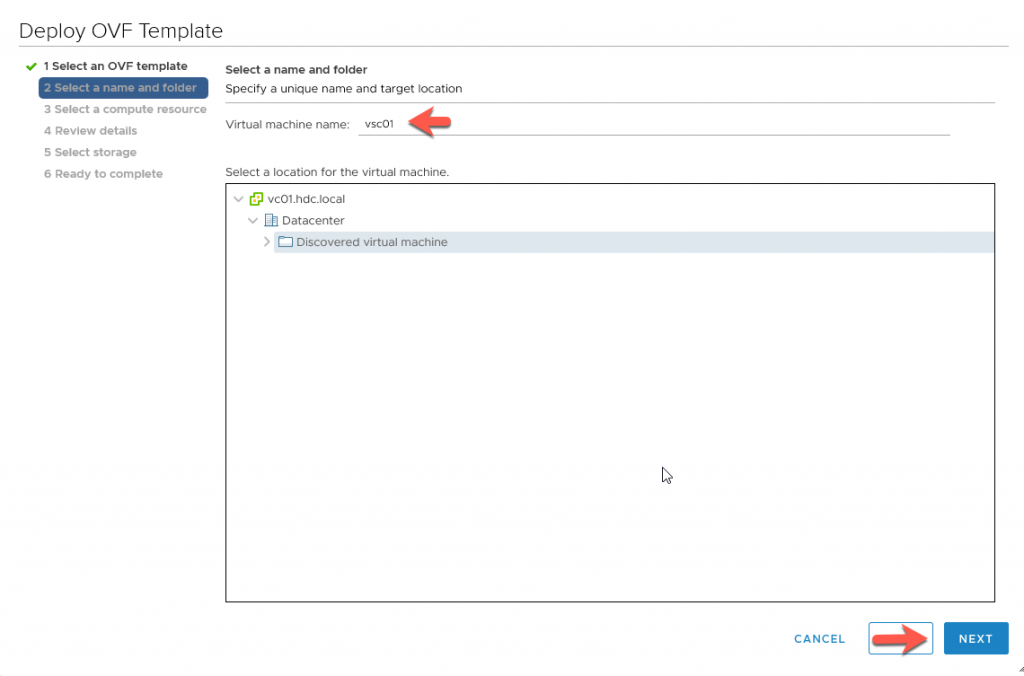
Name the VM, my name ‘VSC01’ is a FQDN, Click Next
![](http://hybriddatacenter.net/wp-content/uploads/2020/07/2020-07-17_12-11-14-1024x676.png)
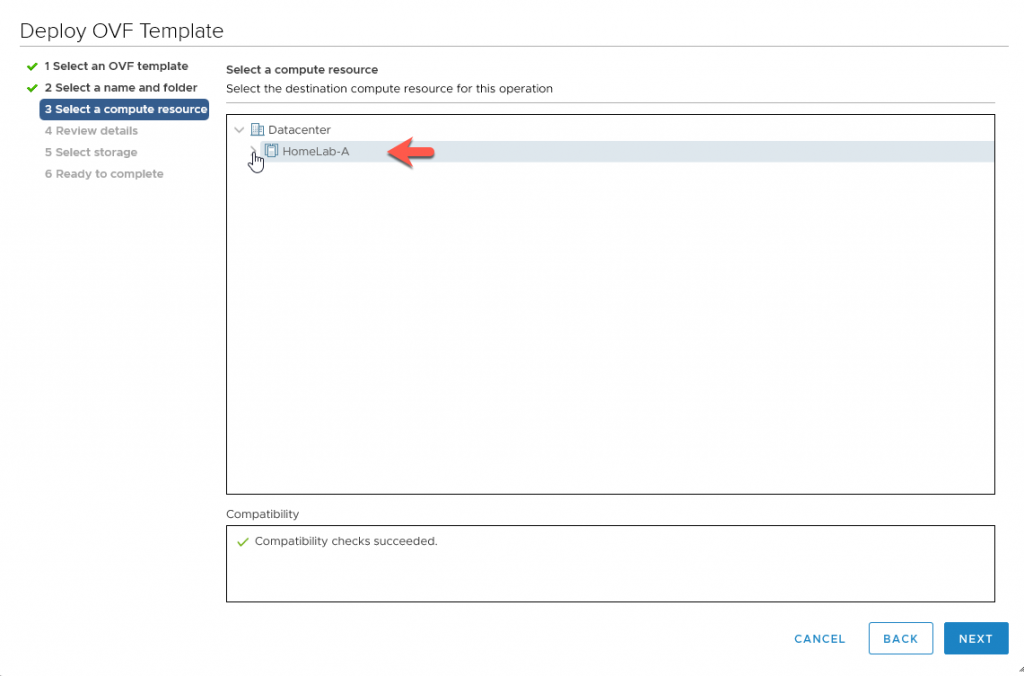
Select the Compute resource, Click Next
![](http://hybriddatacenter.net/wp-content/uploads/2020/07/2020-07-17_12-11-36-1024x676.png)
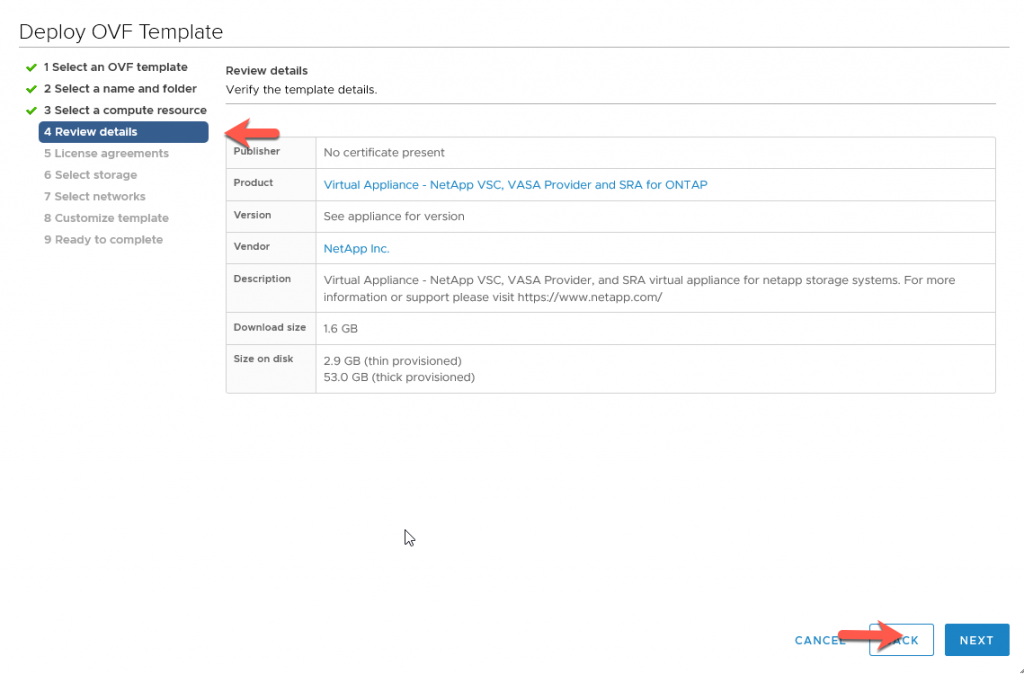
Review and Click Next
![](http://hybriddatacenter.net/wp-content/uploads/2020/07/2020-07-17_12-12-06-1024x674.png)
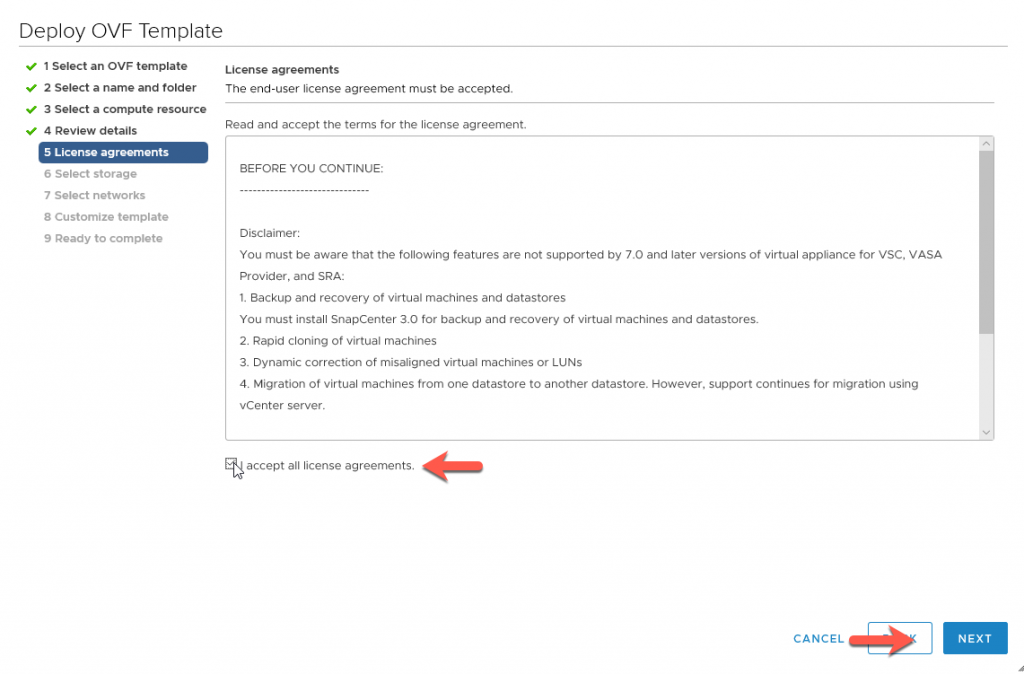
Review License agreement, Click Next
![](http://hybriddatacenter.net/wp-content/uploads/2020/07/2020-07-17_12-12-18-1024x674.png)
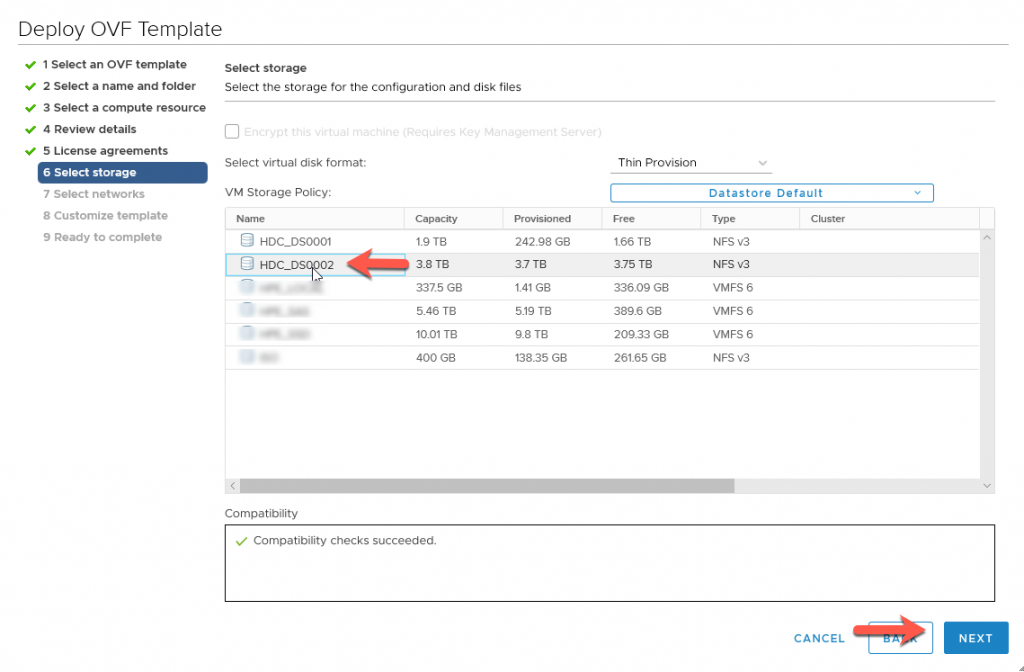
Select Datastore, Click Next
![](http://hybriddatacenter.net/wp-content/uploads/2020/07/2020-07-17_12-12-37-1024x672.png)
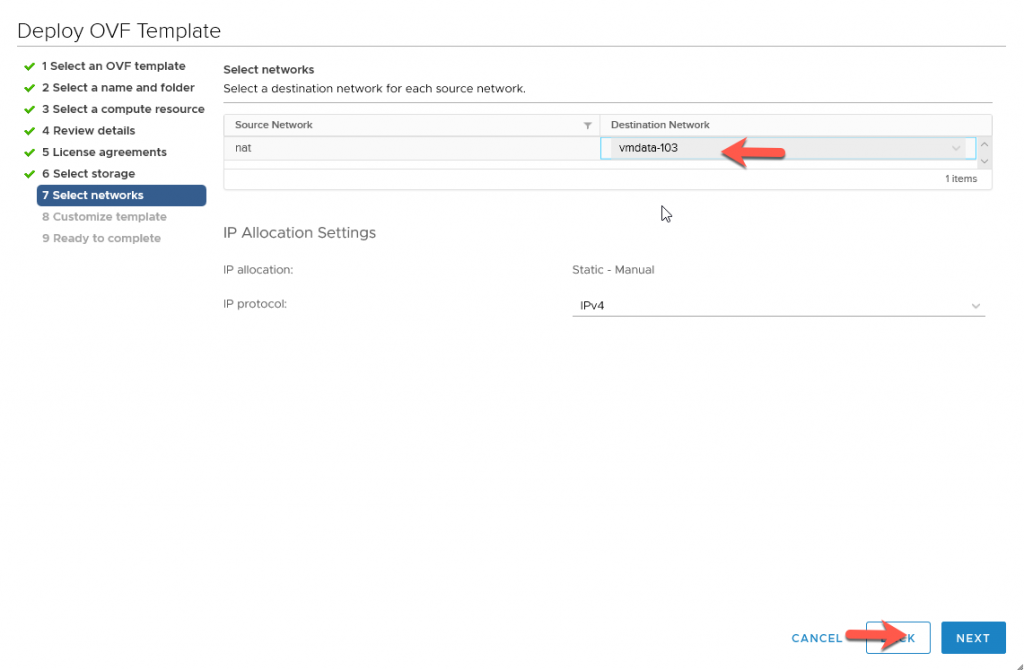
Select Network, Click Next
![](http://hybriddatacenter.net/wp-content/uploads/2020/07/2020-07-17_12-12-52-1024x670.png)
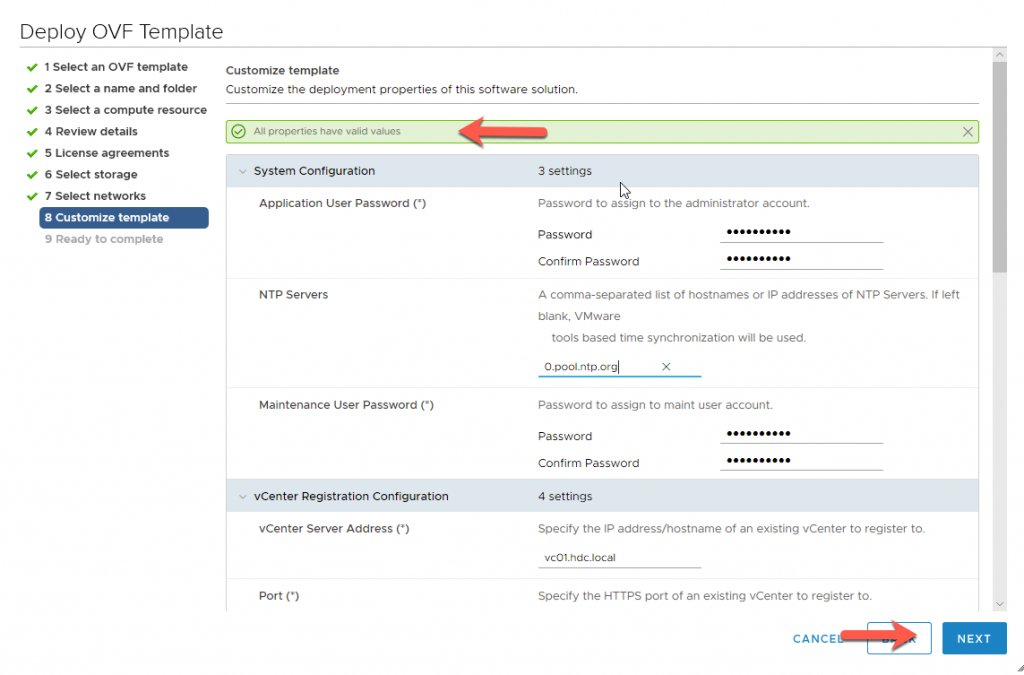
Fill out Properties and Click Next
![](http://hybriddatacenter.net/wp-content/uploads/2020/07/2020-07-17_12-17-00-1024x675.png)
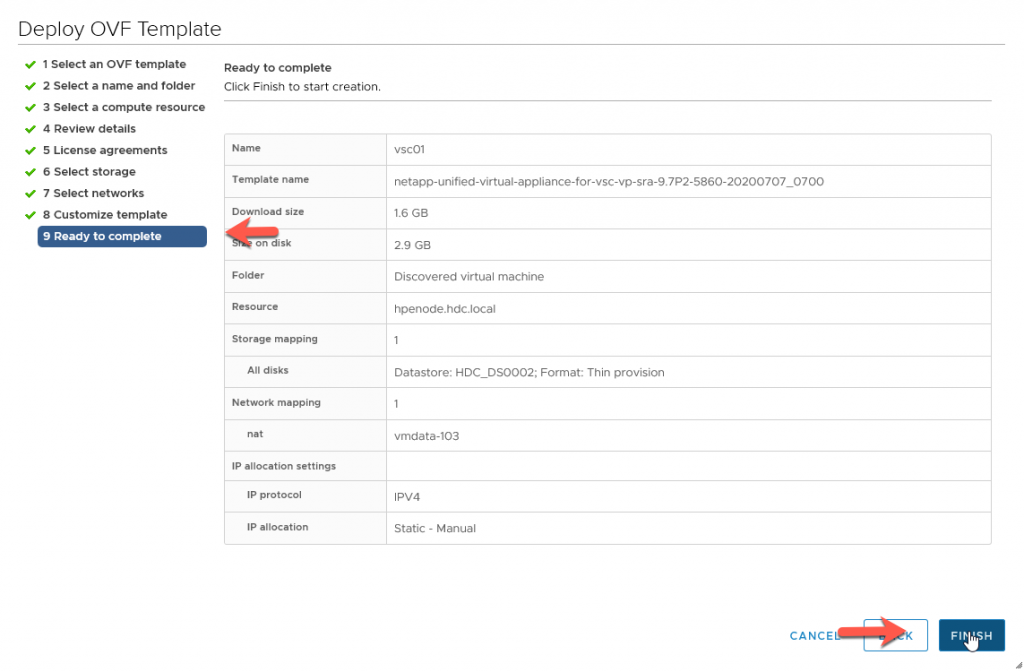
Review Details, correct if needed, Click Finish
![](http://hybriddatacenter.net/wp-content/uploads/2020/07/2020-07-17_12-17-15-1024x672.png)
Monitor the Installation in vCenter’s recent tasks
After Installation completes Power on VM
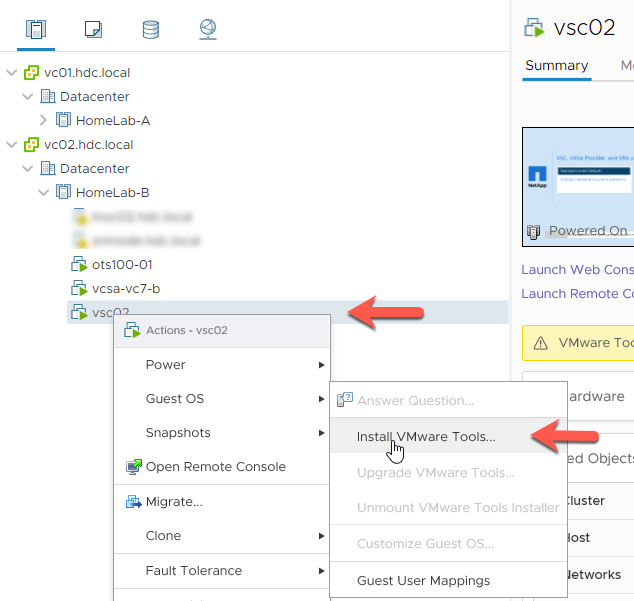
Install vmtools and allow VM to continue to boot.
![](http://hybriddatacenter.net/wp-content/uploads/2020/07/2020-07-17_12-51-05.png)
You have successfully deployed the NetApp Virtual Storage Console (VSC). After you log out of vCenter and log back in, you should see the NetApp Plug-in.
![](http://hybriddatacenter.net/wp-content/uploads/2020/07/2020-07-17_12-59-29.png)