Deploy NetApp Cloud Volume ONTAP (CVO)
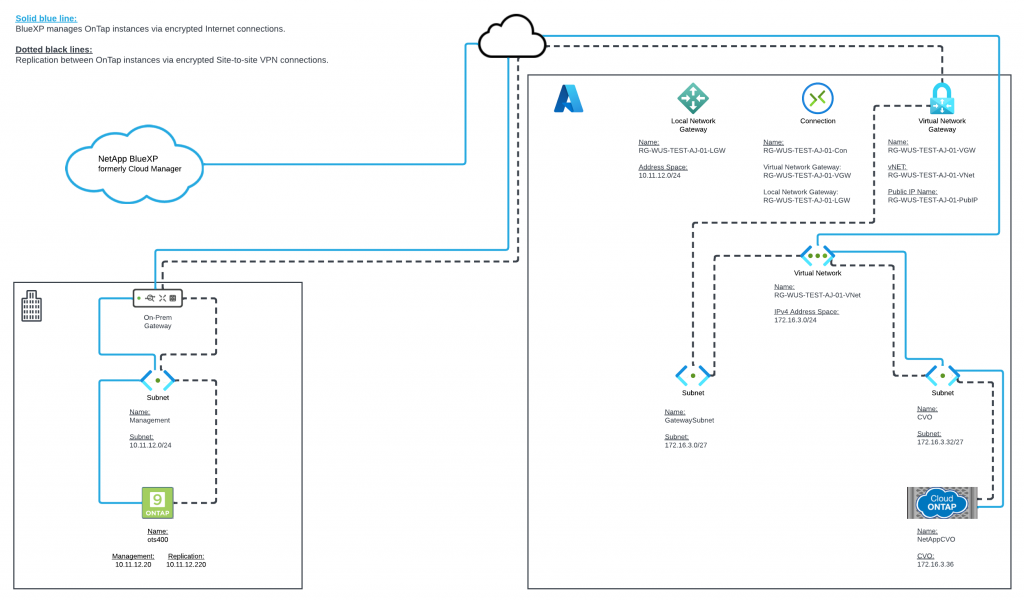
In My previous blog post Deploy NetApp CVO – PART1 (AzureVPN) I demonstrate creating a Site-to-Site VPN using Azure VPN. I will continue to use the Azure resources to deploy NetApp CVO.
What is NetApp Cloud Manager (BlueXP)
Cloud Manager enables IT experts and cloud architects to centrally manage their multi-cloud infrastructure using NetApp cloud solutions.
- Deploy / Manage and use Cloud Volumes ONTAP for efficient, multi-protocol data management across clouds.
- Deploy / Manage and use file-storage services: Azure NetApp Files, Cloud Volumes Service for AWS, and Cloud Volumes Service for Google Cloud.
- Deploy using Azure (Main focus of this post)
- Discover and manage your on-prem ONTAP clusters, backing up to the cloud and replicating (SnapMirror) data across your hybrid cloud.
- Enable integrated cloud services and software like Cloud Compliance, Cloud Insights, Cloud Backup Service, Trident, and more.
Cloud Manager deployment options
- Deploy Cloud Manager from NetApp Cloud Central on Azure (Main focus of this post).
- Deploy Cloud Manager from Azure marketplace.
- Install Cloud Manager installable in an on-premises data center.
Azure credentials
cloud Manager deployment from NetApp Cloud Central requires an Azure account that have rights to deploy the VM. An account with contributor rights can be used to deploy Cloud Manager. Else you can also create a custom role and assign to a user (refer section titled “User Permission configuration” to understand how to do this).
I am using my Microsoft Partner Subscription with Administrator privileges.
What is NetApp Cloud Volumes ONTAP (CVO)
NetApp Cloud Volumes ONTAP is a software-only storage subscription running the NetApp ONTAP storage software offering you control of your data with the power of an enterprise storage software solution.
Building your cloud storage environment on Cloud Volumes ONTAP provides enterprise-class features for your cloud storage.
- Non-disruptive, two node high-availability (HA) support keeps you operating against unplanned storage failures in the cloud
- Provision both NAS and SAN storage with NFS, CIFS and iSCSI support
- Minimize your storage footprint with efficiency features such as data deduplication, thin provision inline data compression
- Zero-impact NetApp Snapshot copies with near-instantaneous point-in-time backups of your data without taking additional storage resources
- NetApp SnapMirror technology brings your hybrid cloud environment together by tying on-premises storage to your Cloud Volumes ONTAP environment.
Connectors
In most cases, an Account Admin will need to deploy a Connector in your cloud or on-premises network. The Connector enables Cloud Manager to manage resources and processes within your public cloud environment.
A Connector should remain running at all times. It’s important for the continued health and operation of the services that you enable.
NetApp has recently rebranded Cloud Manager to ‘NetApp BlueXP’ Cloud Volumes ONTAP | NetApp BlueXP
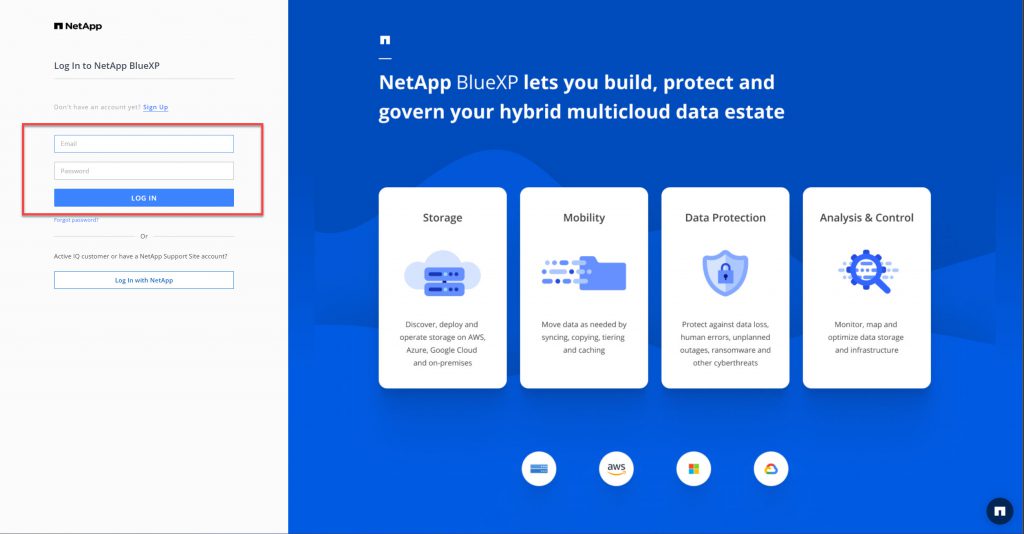
If you don’t have an account, you can create a FREE one now.
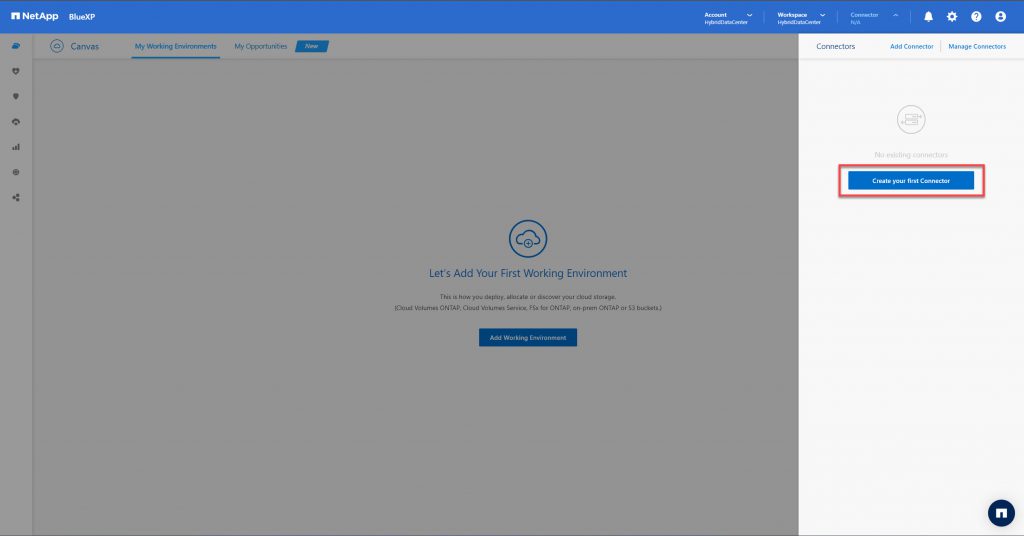
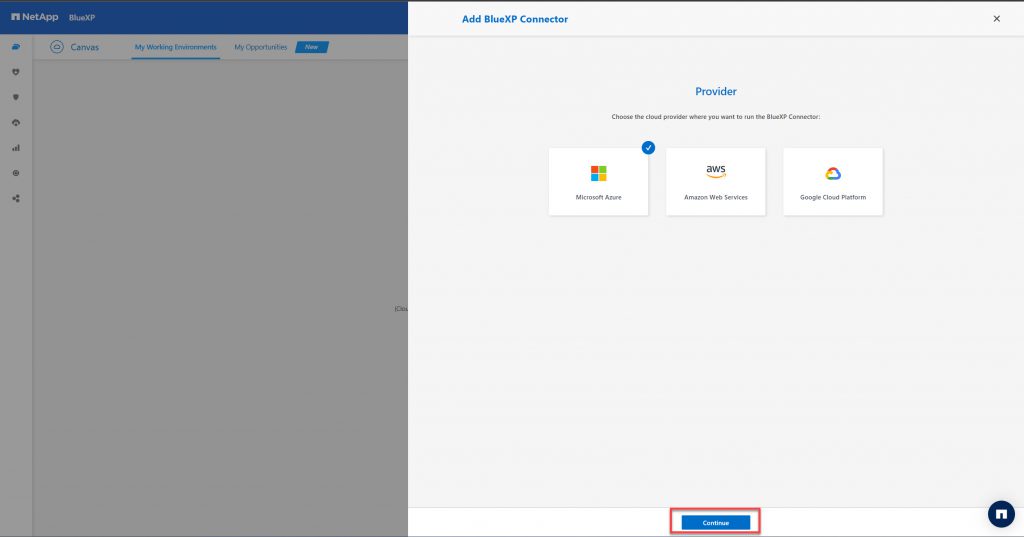
After you create an account a successfully log in, we first need to create our first connector
Here is where you can choose your provider, in my case; I am continuing with Microsoft Azure
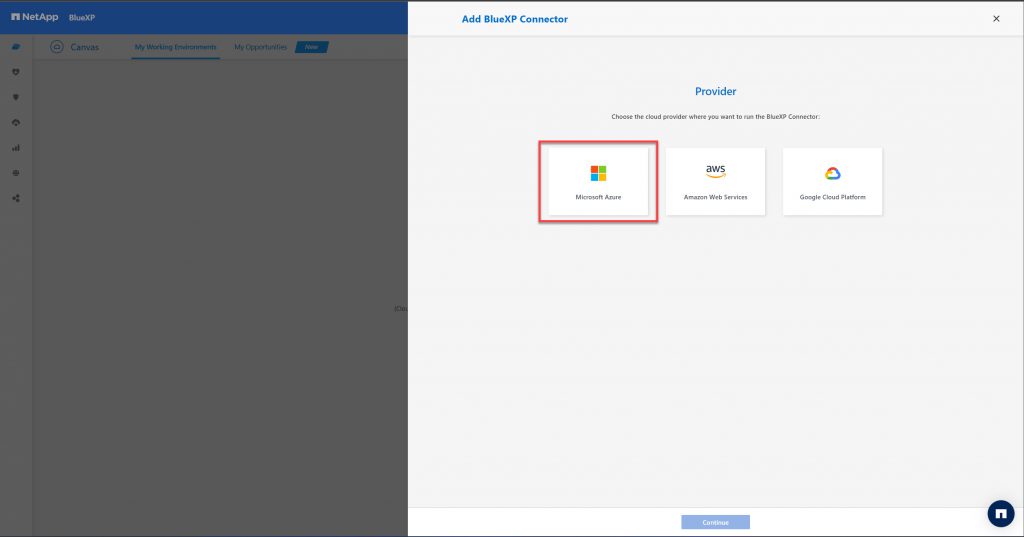
After Selecting your provider, Click Continue
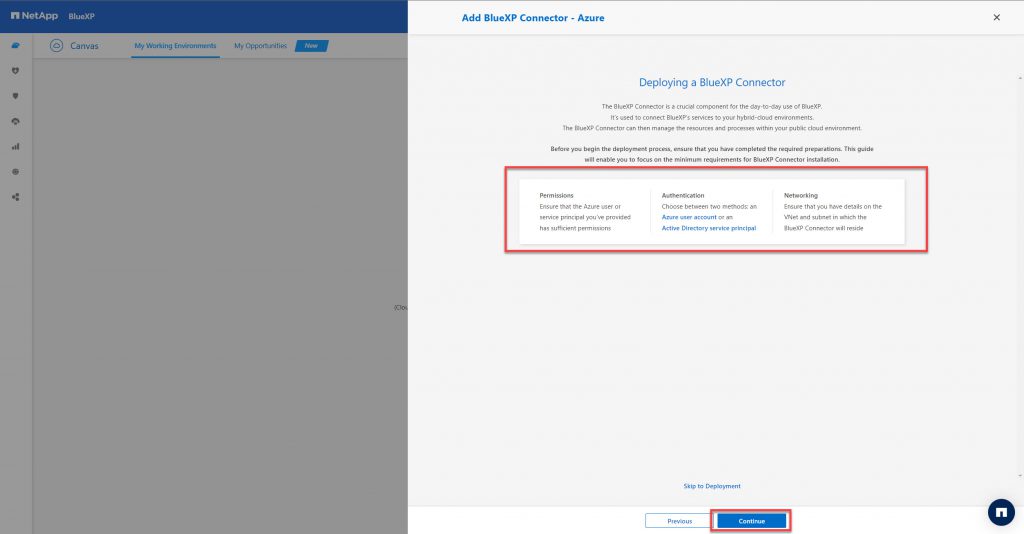
When deploying a BlueXP Connector, you need to use an account that has the appropriate permissions. You can use the provided wizard to generate an ‘Authorized User’ but in my case, I am using my Partner Portal with Administrator privileges.

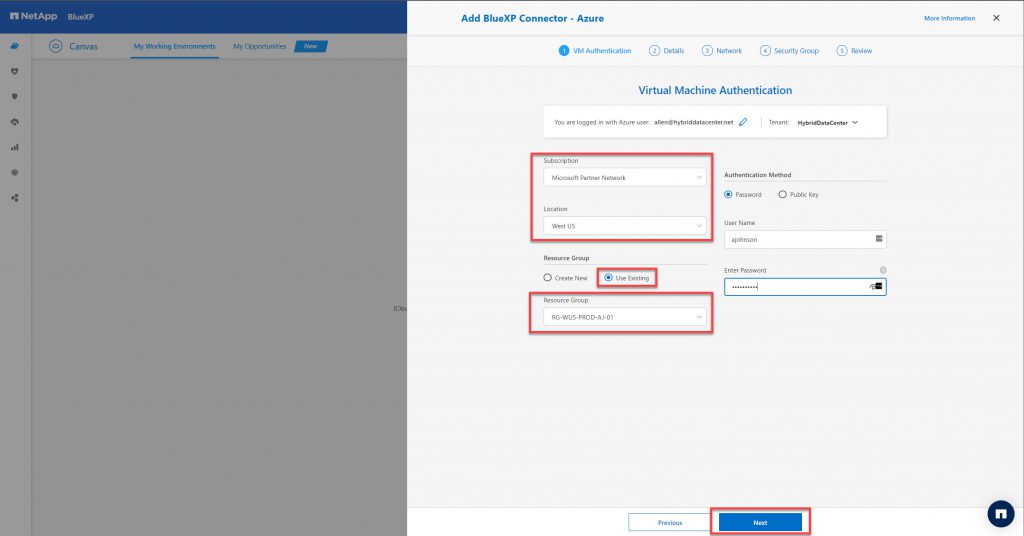
Virtual Machine Authentication
- Subscription: Choose your Subscription
- Resource Group: I am using the resource group from my previous blog post
- Authentication Method: Create a username and password for the VM that will be deployed
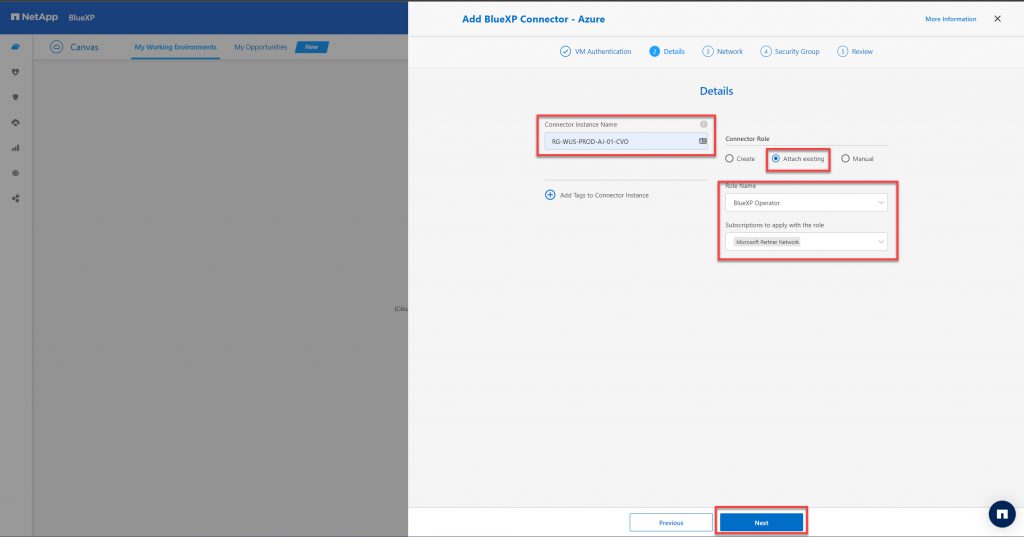
Details:
- Connector Instance Name: Choose the Resource Group
- Connector Role: Attach Existing (Administrator Role)
Click Next
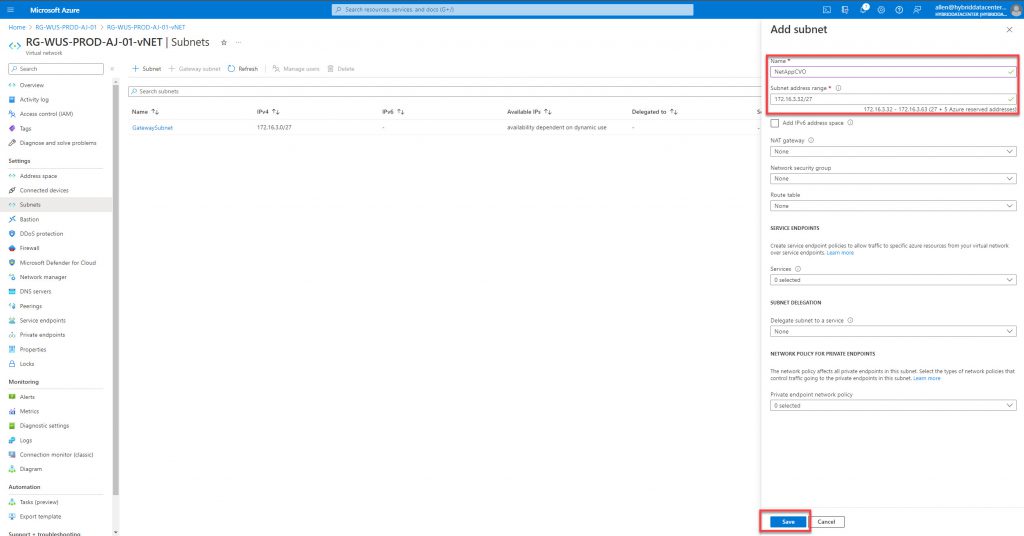
Before continuing we need to add a Subnet for the CVO instance.
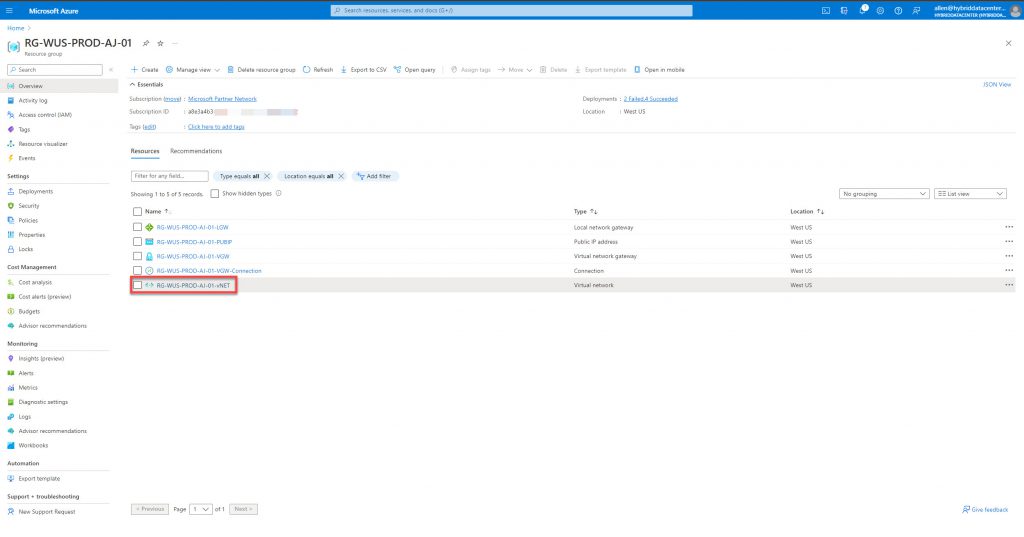
Log into your Azure Portal > Resource Group and click on your VNet
Add an additional Subnet and click save
Network:
- Connectivity: Choose your vNET
- Subnet: Choose the NEW Subnet you created
- Click Next

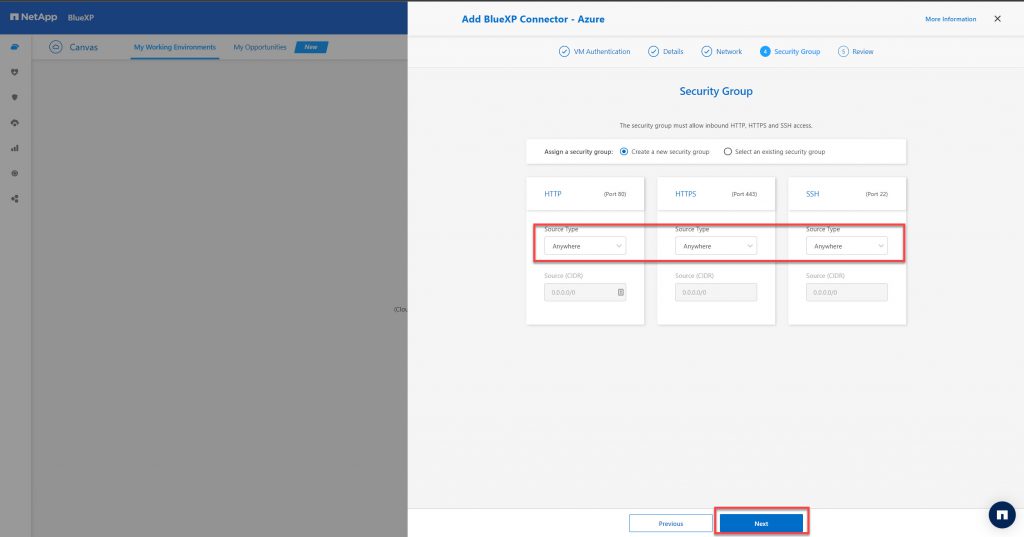
since this is for DEMO purposes, I am allowing Any/Any, typically restricted access is applied
Validate your Configuration and click Next

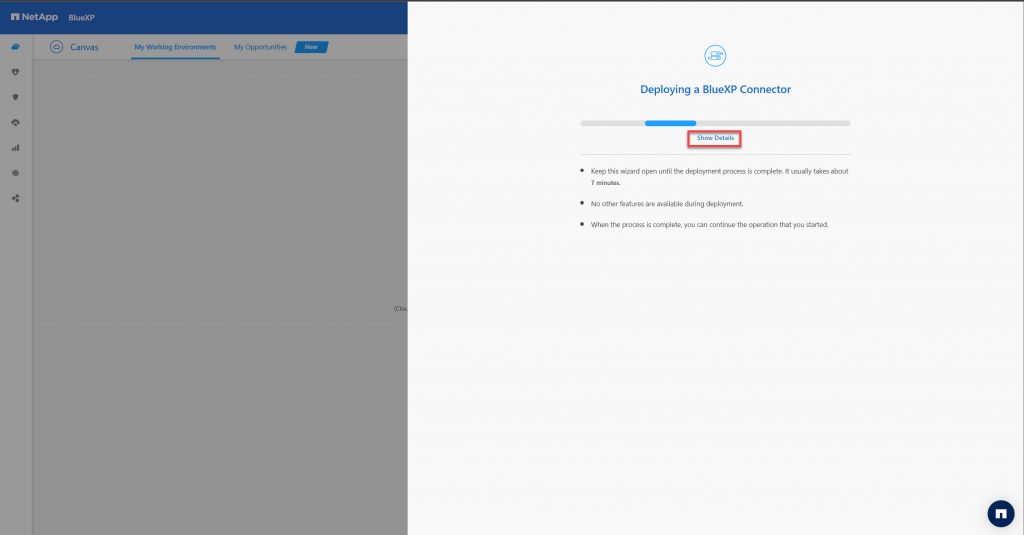
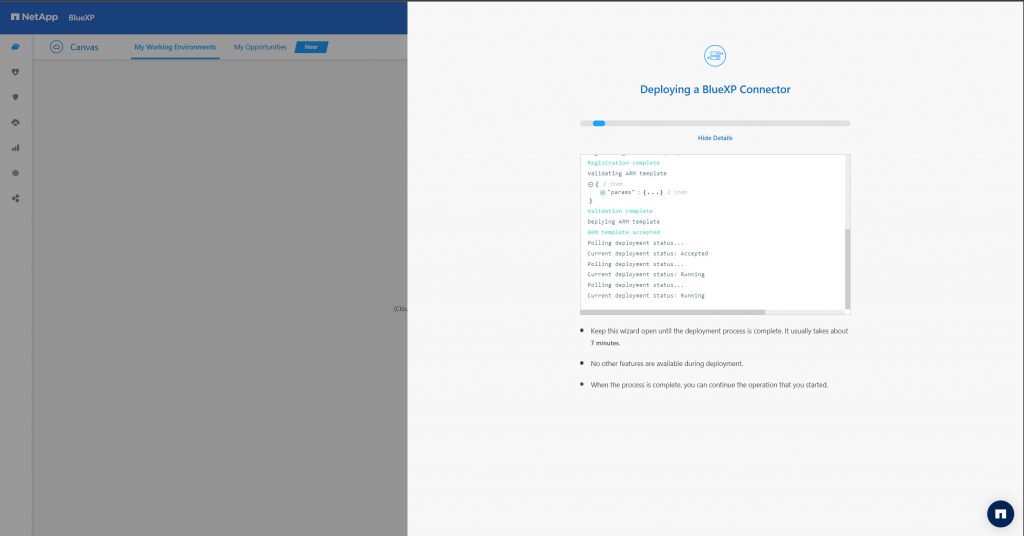
Deploying BlueXP Connector
If you want to see what is happening, you can click ‘Show Details’
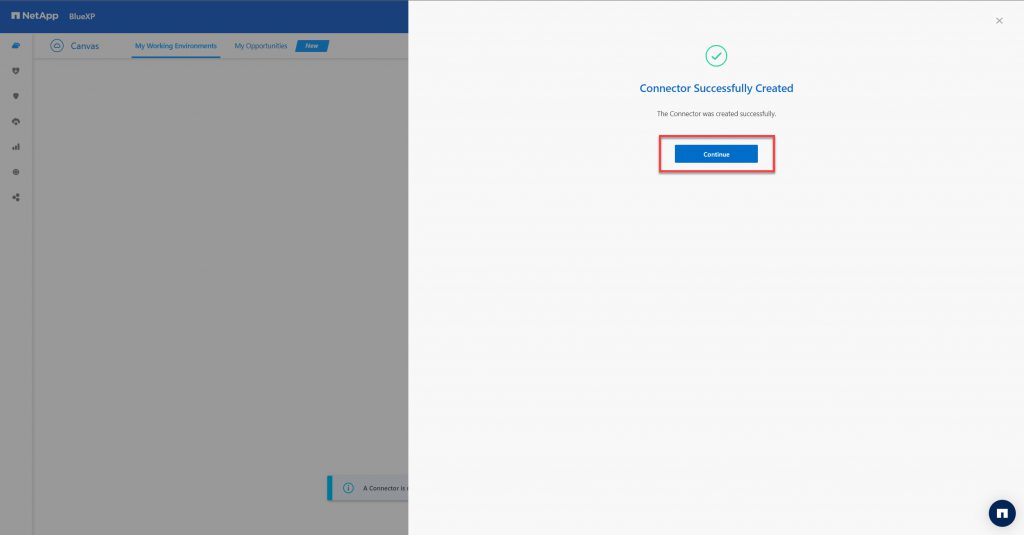
We have successfully Created the Connector, we can now add ‘Working Environments’
- OnPremise Arrays
- Deploy Cloud Volume Ontap (CVO)
In my next blog post, I will demonstrate how to add an On Premise array, and how easy it is to deploy a Single Node CVO instance.