As I build out my lab, there are often times when I need to rapidly deploy a virtual machine (VM). It would be nice if you could just deploy a VM, having all Windows patches applied, vmtools installed, IP address assigned and join your Active Directory (AD).
Sure, you can manually deploy a VM and perform all of these tasks but when trying to deploy severals VMs, this can become tedious and time consuming.
Being able to repeatably automate the entire process could be very useful.
Part of the solution is to create a ‘Hardened Image’ with all the updates and patches applied, then convert it to a VM template.
Here I deployed a Windows 2019 VM, applied all the updates a patches and installed some useful tools like (PowerCLI, NetApp Powershell, Putty and Notepad+). At this point the Windows 2019 Server is configured for DHCP and is not joined to an AD.
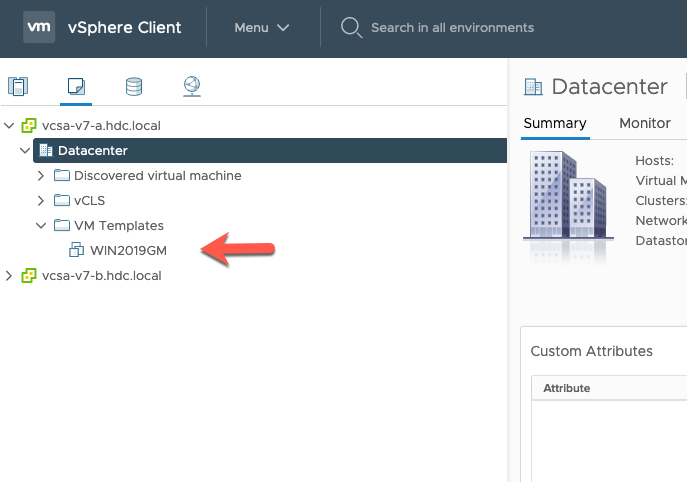
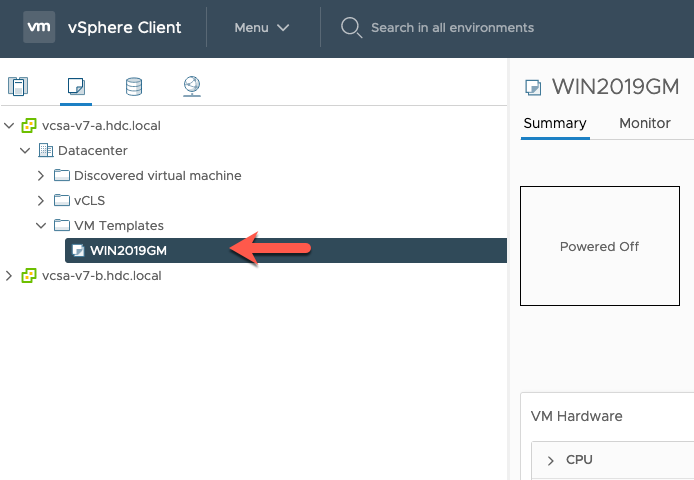
Firs, lets convert the Windows 2019 to a ‘Gold Master’ template, hence the name of the VM ‘WIN2019GM’.
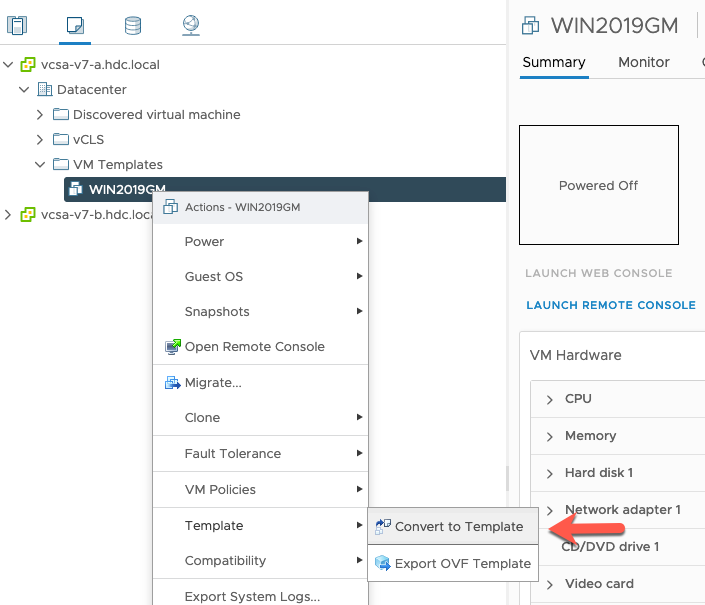
Right click on the VM and select ‘Template’ then ‘Convert to Template’.
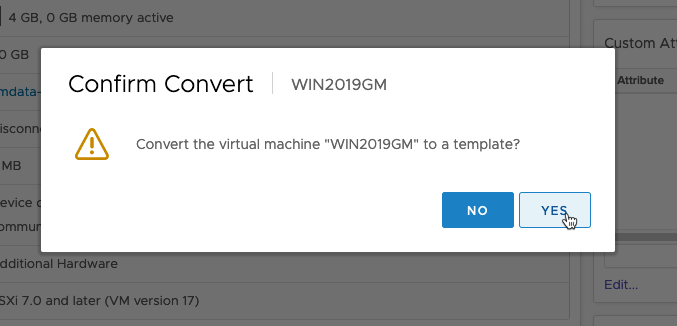
You will notice that the icon changes.
For the most part you could start creating NEW VMs by just ‘Right Clicking’ and deploying VMs from your ‘Gold Master’ but we want to take it to another level and apply some Automation.
Lets use VMware vCenter to create a Customized Script that will rename the Windows Server ‘Host Name’, assign a static IP, join the Active Directory and upgrade ‘vmtools’ if needed.
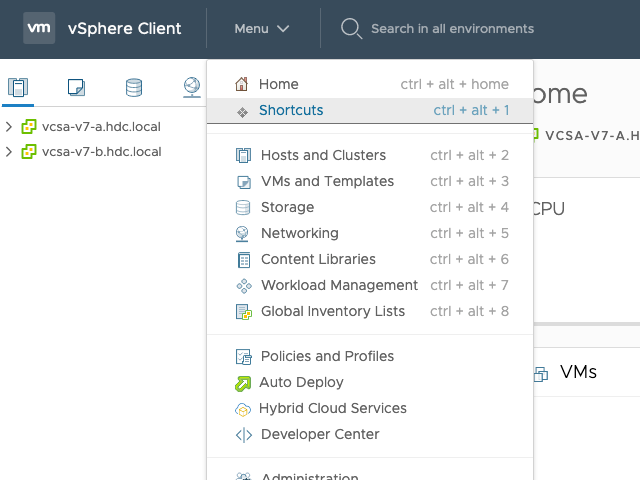
From the vCenter Home Page, click on ‘Menu’ then ‘Shortcuts’
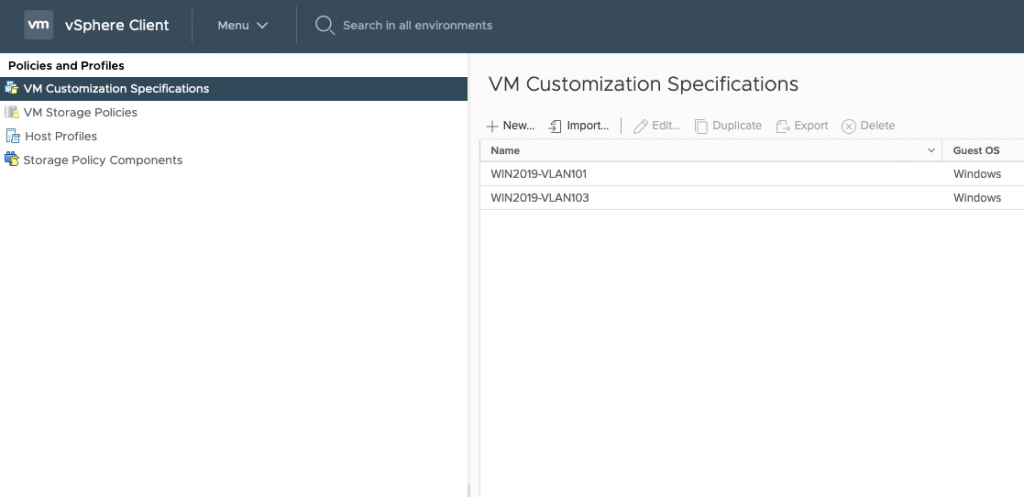
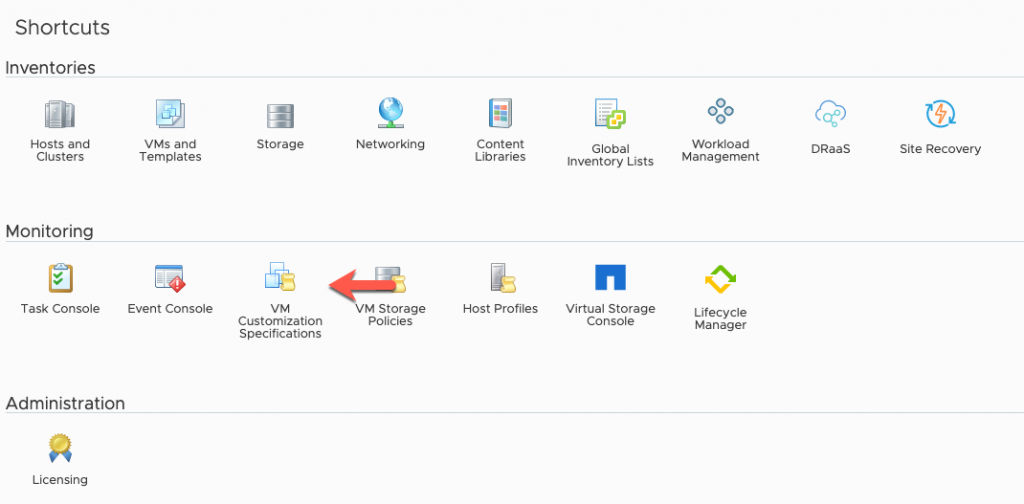
Click on ‘VM Customization Specification’
Since I have multiple VLANs, I like creating customized script for each one.
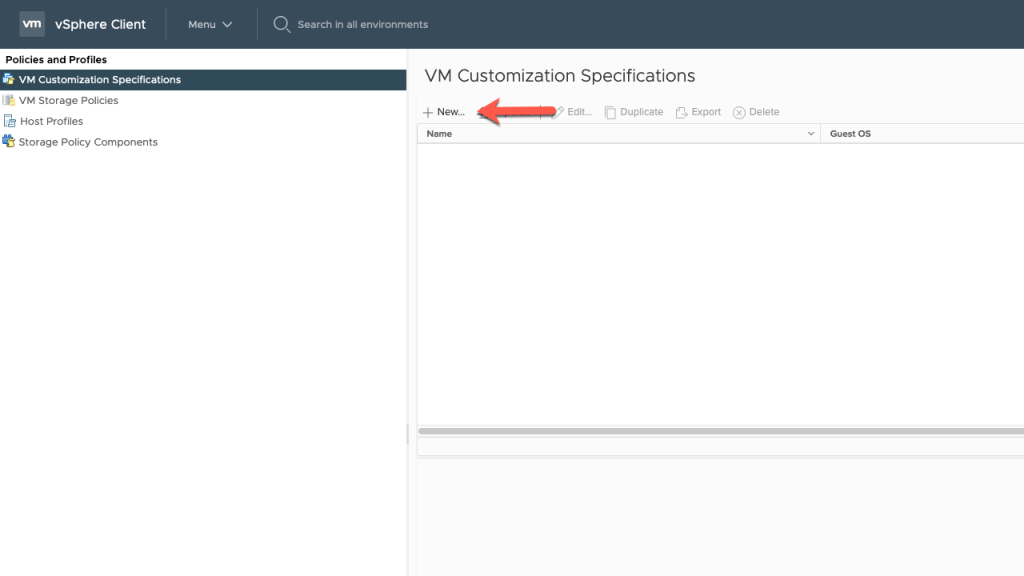

Give your Script a ‘Name and Description’

Fill out the ‘Registration Information’
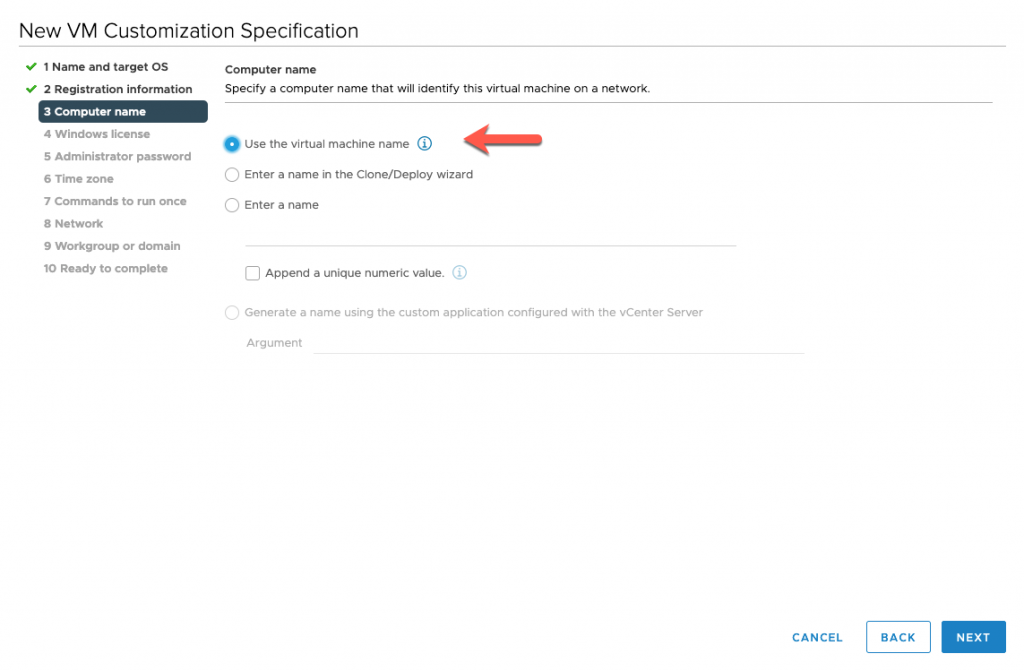
Here is where some of the ‘Automation’ starts, when you name the VM, the script will change the Windows Server Host Name to match the VM Name.
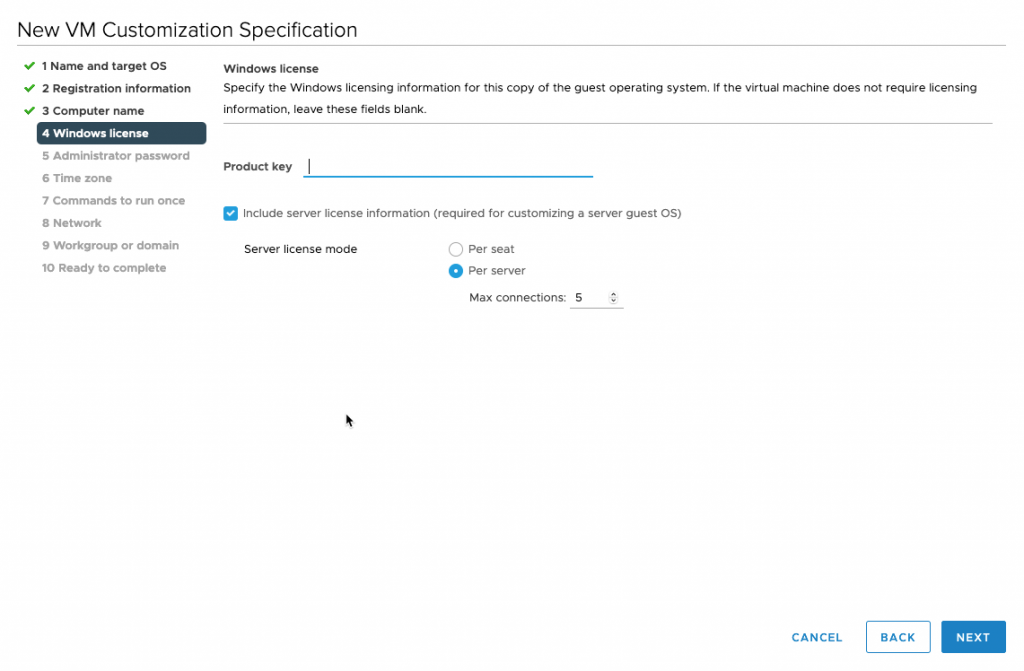
Enter Product Key
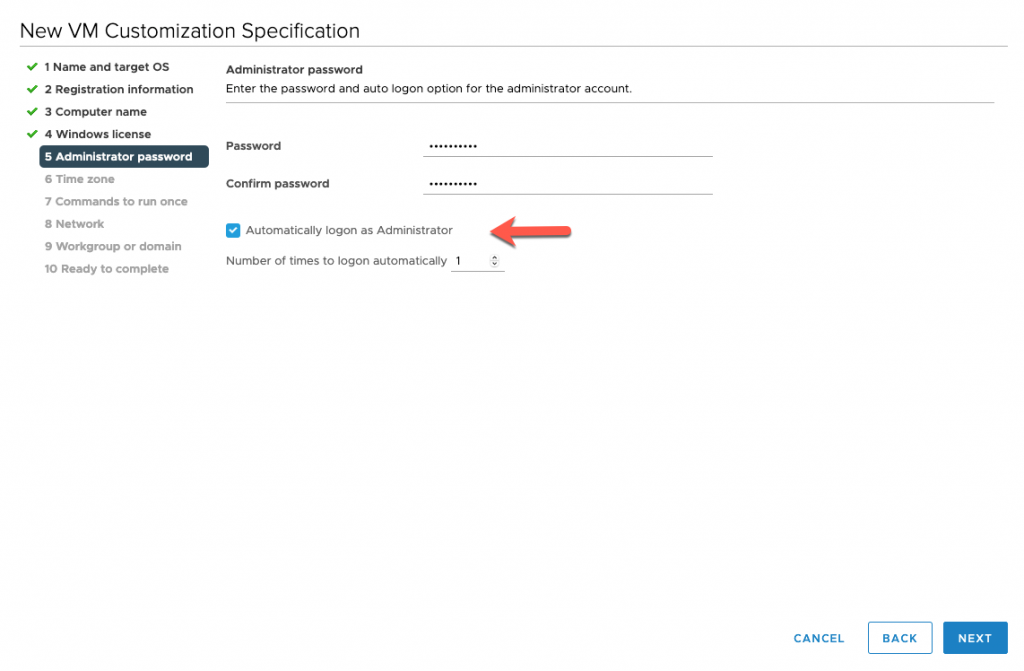
Enter the WIN2019GM Administrator Password
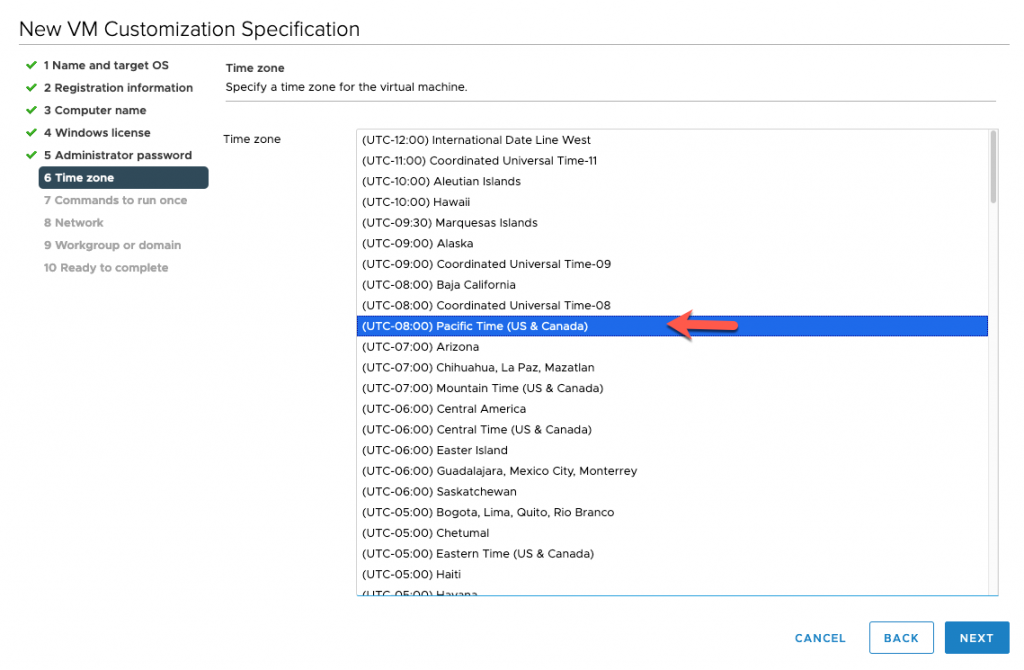
Select the appropriate TimeZone
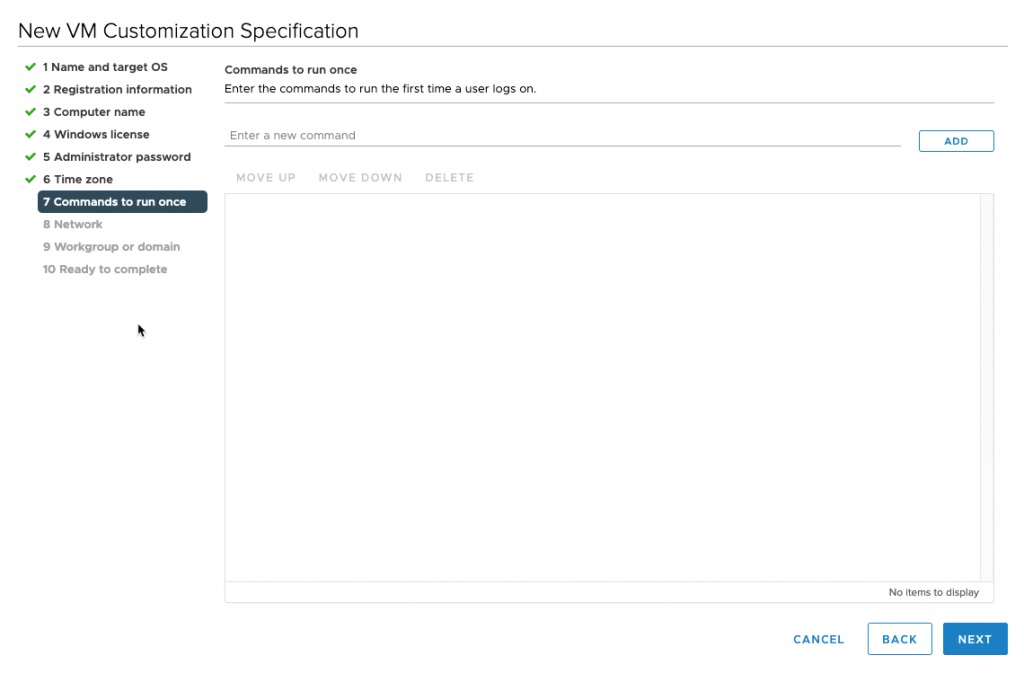
Enter additional customized commands if you have any.
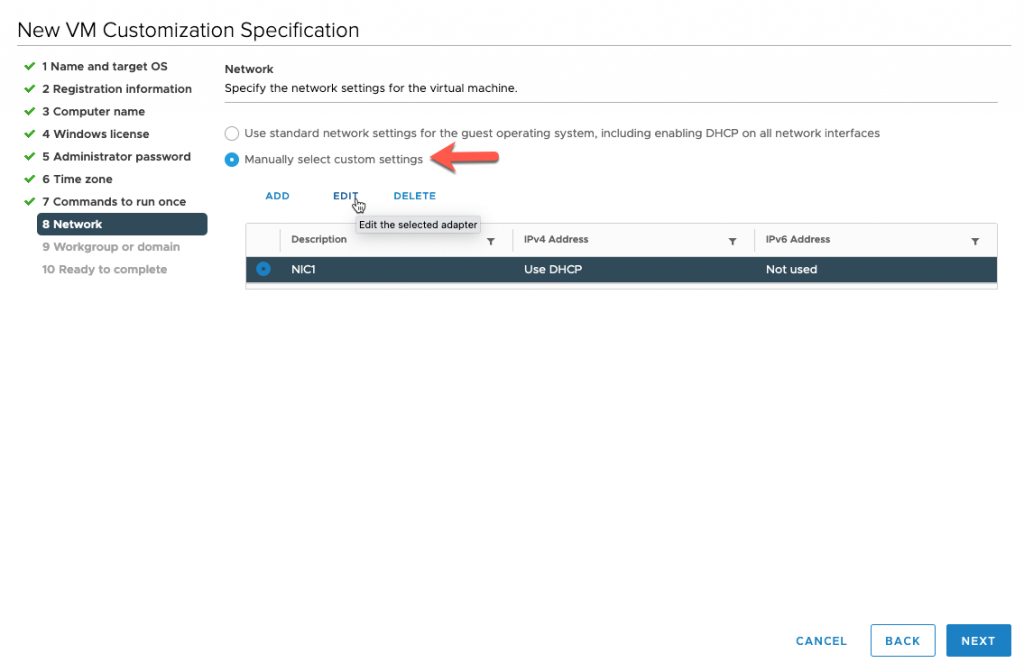
Since I have several VLANs, here is one section where I going to modify the Network settings to match the intended Network.
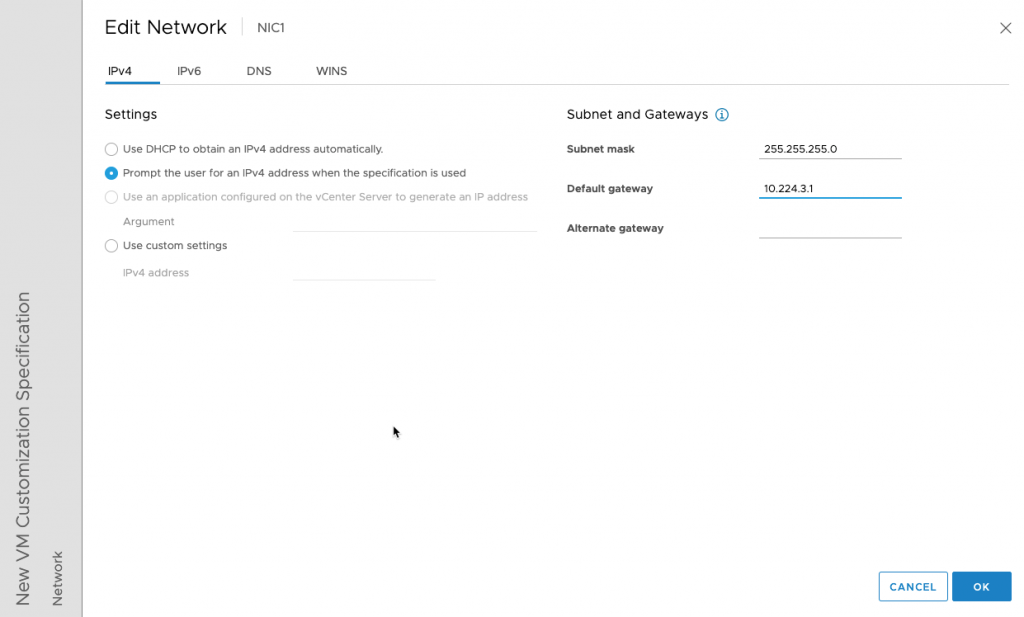
Since I want the ability to manually assign IP address, I selected the option to Prompt User for a Static Address.
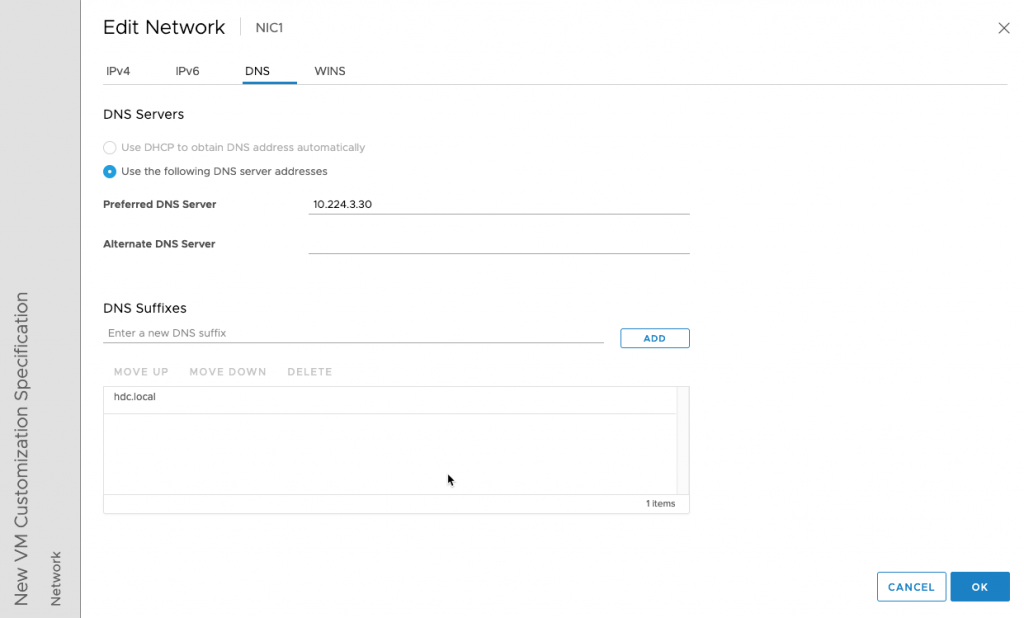
Enter your DNS and DNS Sufix.
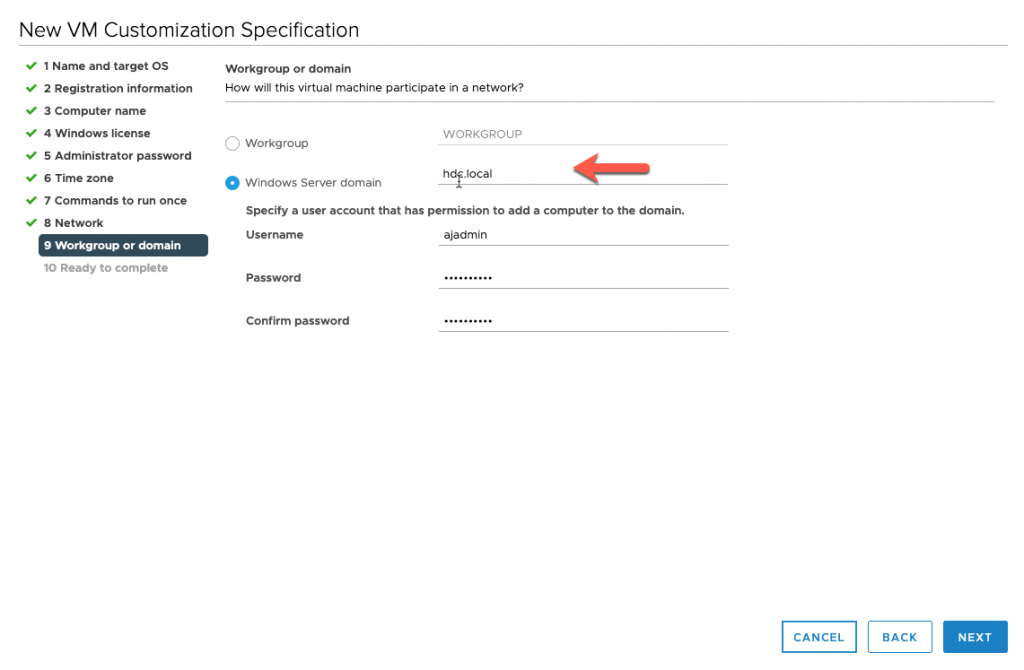
Here is another section where automation comes into play, here you can choose to join your AD.
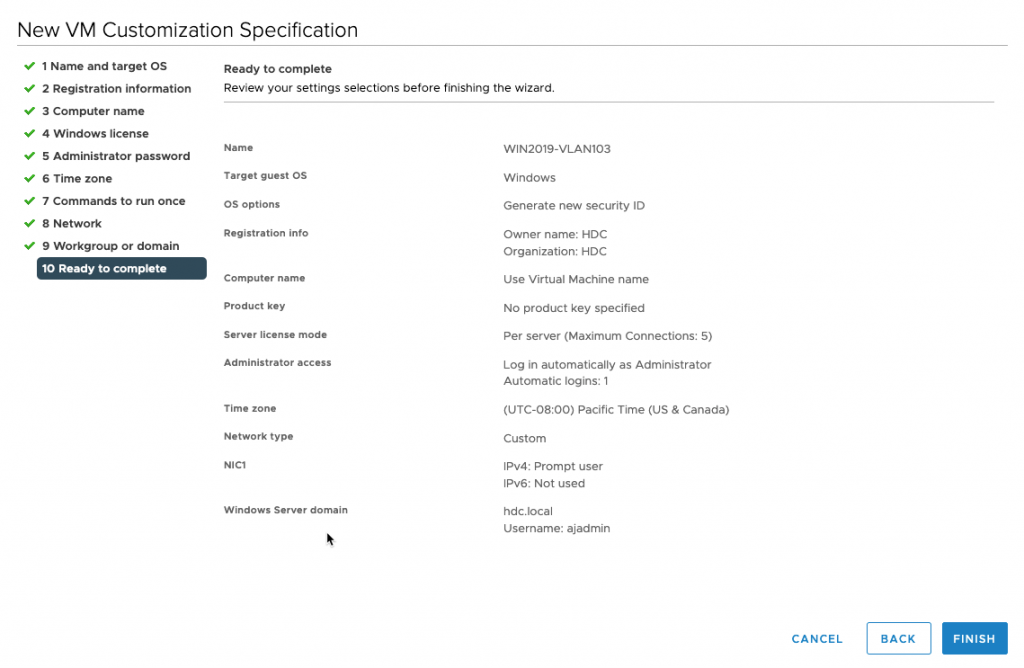
In the next blog post, I will show how to make use of the customized script when deploying a VM Template.