In a previous post on StorageGRID I discuss what Object Storage is and its use cases. In todays post, I will demonstrate how to deploy the virtual NetApp StorageGrid appliance in my VMware HomeLab using my Intel NUCs.
If you have been following my blog posts, I have been demonstrating how I make use of the Intel NUCs for building out my lab and building POC and self learning. How to Deploy NetApp Ontap Select on an Intel NUC.
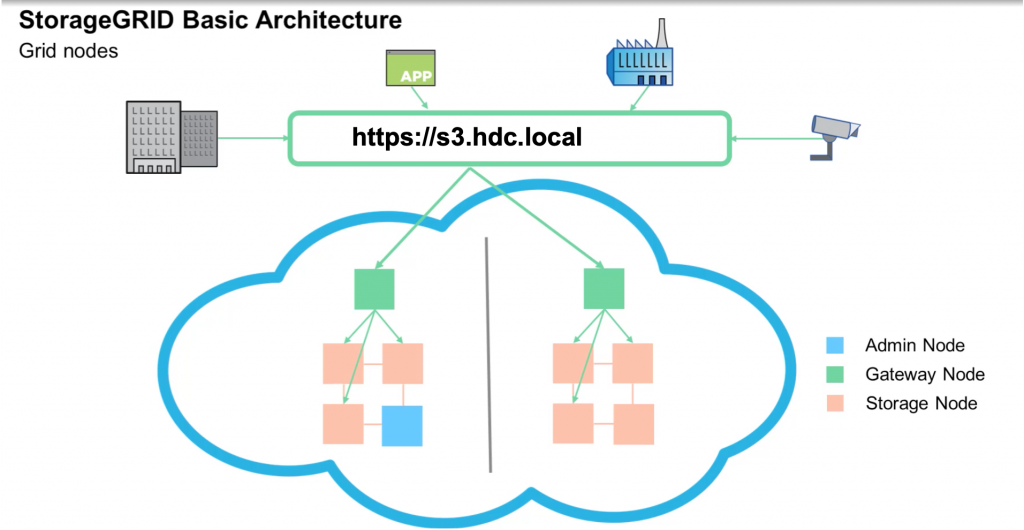
There are several ways to deploy NetApp StorageGRID, but today I will be using the VMware based version of StorageGRID. This version can easily be deployed using vm templates for the Admin, Storage, Gateway and Archive Nodes.
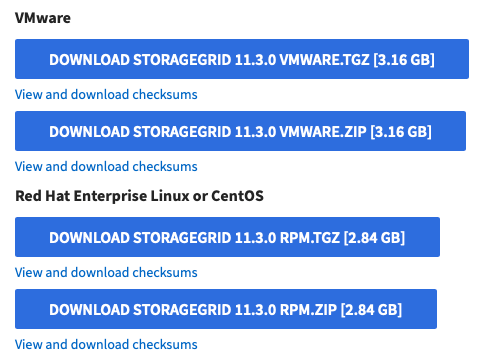
As I mentioned in my previous post regarding NetApp StorageGRID, my intension is to deploy StorageGRID 11.3. After successfully deployment, I will then perform an upgrade to the latest version and document that process.
In order to download the NetApp StorageGrid 11.3 , you must have an active support contract or partner access.
The minimum VMware deployment of StorageGRID requires (3) Storage Nodes with 3 disks of 4TB and 24GB of RAM each, (1) Admin with 24GB RAM and (1) Gateway with 24GB of RAM. As you can see, the hardware requirements are pretty intense and without some minor tweaking, my Intel NUCs would not be able to support this deployment.
Since this is for my homelab, I am fine with bending the rules a little to make it work. I reached out to my friend Sean who also has an awesome blog called Madlabber, and he pointed me in the right direction of how to reduce the requirements of the default deployment, so that it would fit on an Intel NUC. Make sure to check out his blog!!!
- Do not modify the OVF in a Production Environment
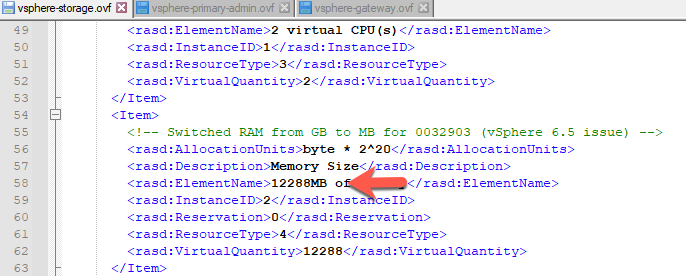
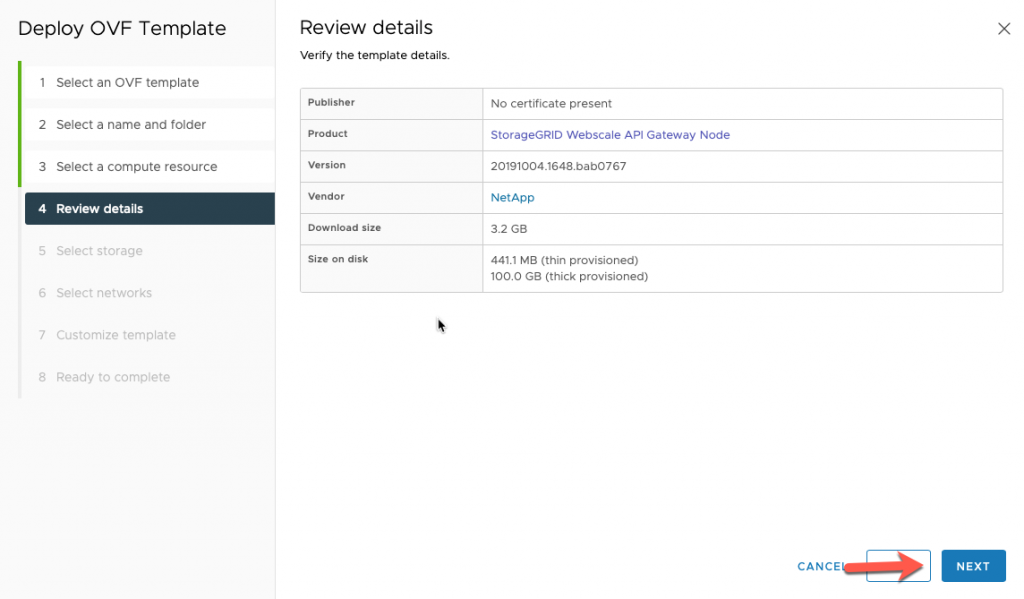
After successfully downloading the NetApp StorageGRID 11.3 and extracting the zip file, you will need to modify the Storage, Admin and Gateway OVF files.
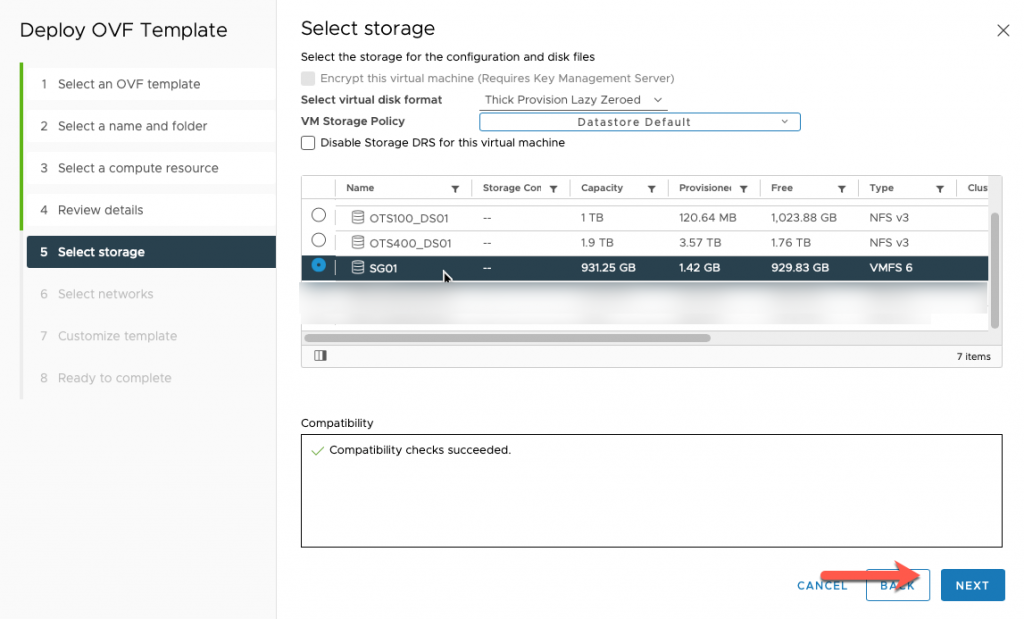
I used NotePad++ to modify the default storage and memory requirements and reduced them to fit on my Intel NUCs. Here I have change the disk requirements to 200GB and memory to 12GB.

Although this could fit on a single new Generation Intel NUC with 2TB of Storage capacity and 64GB of RAM, I am opting to split this deployment across several Intel NUCs.
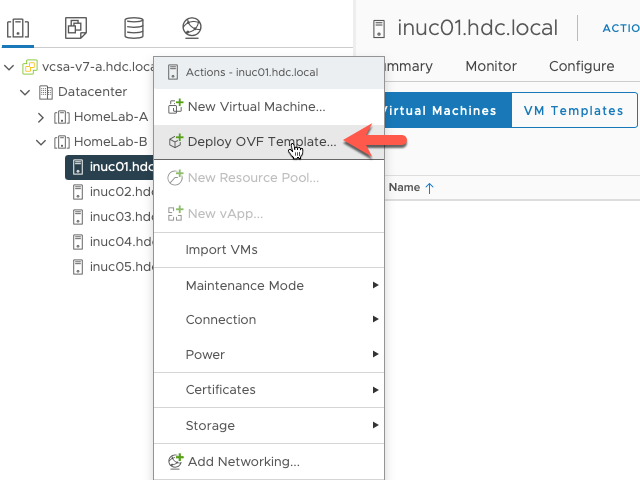
Deploy VMware NetApp StorageGrid
Deploy Storage Nodes
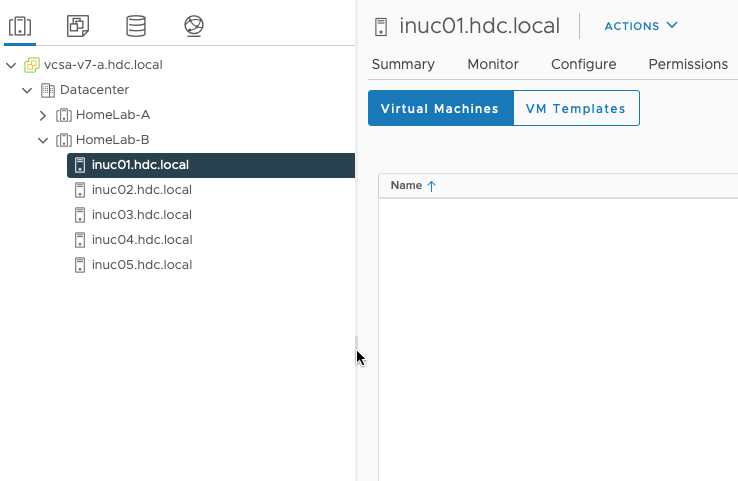
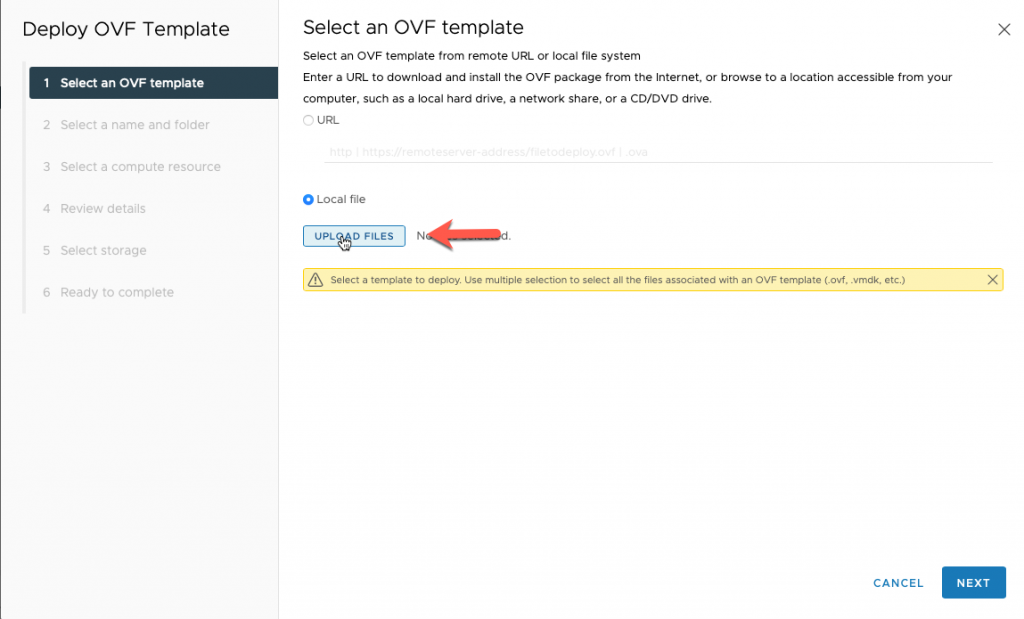
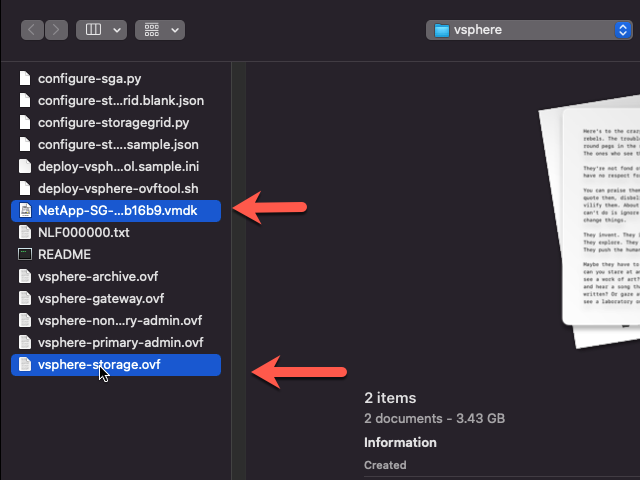
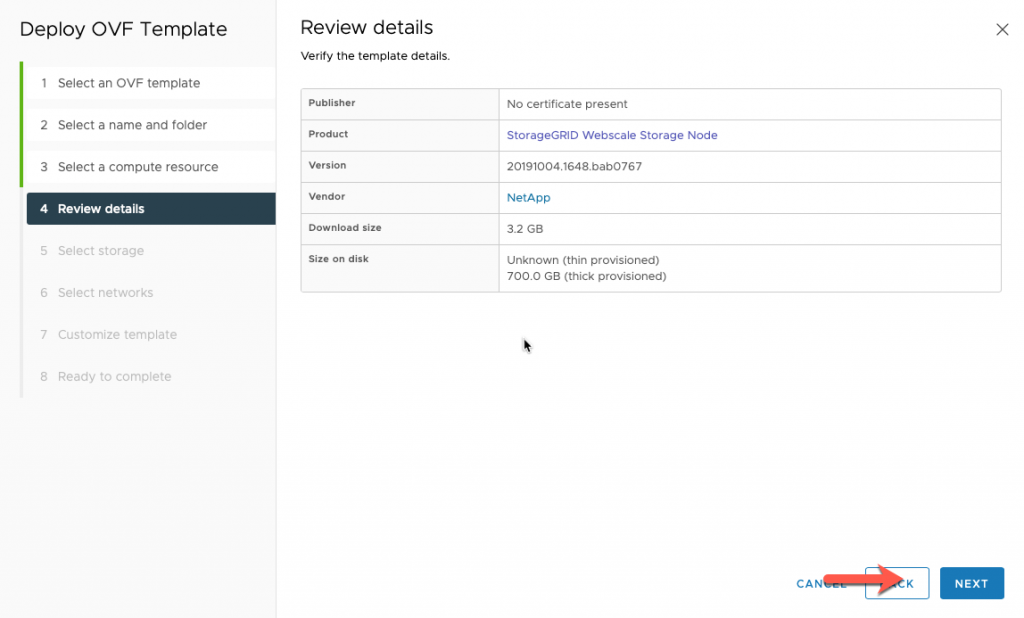
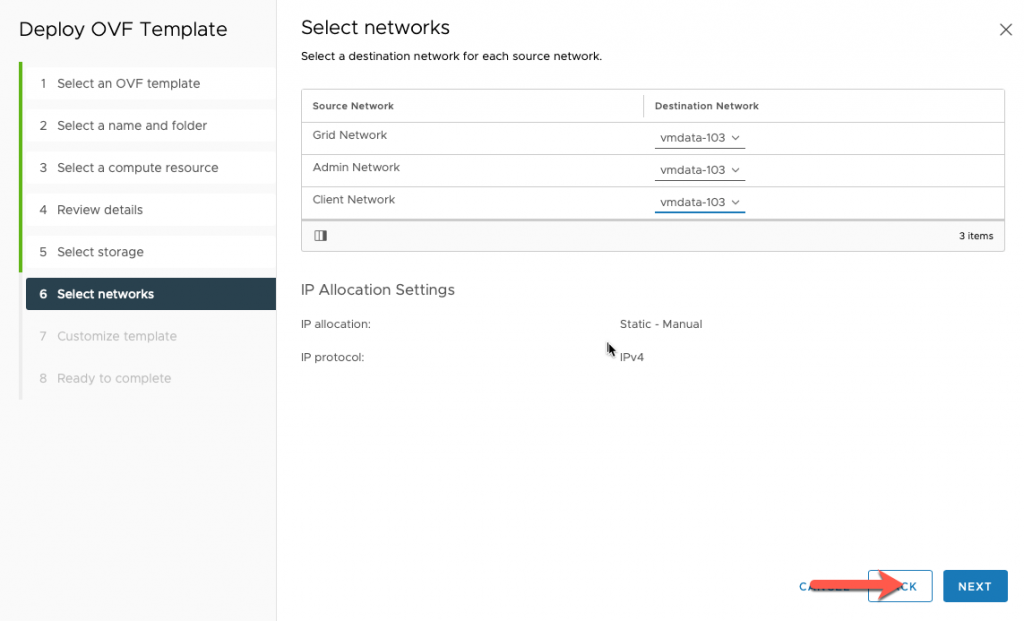
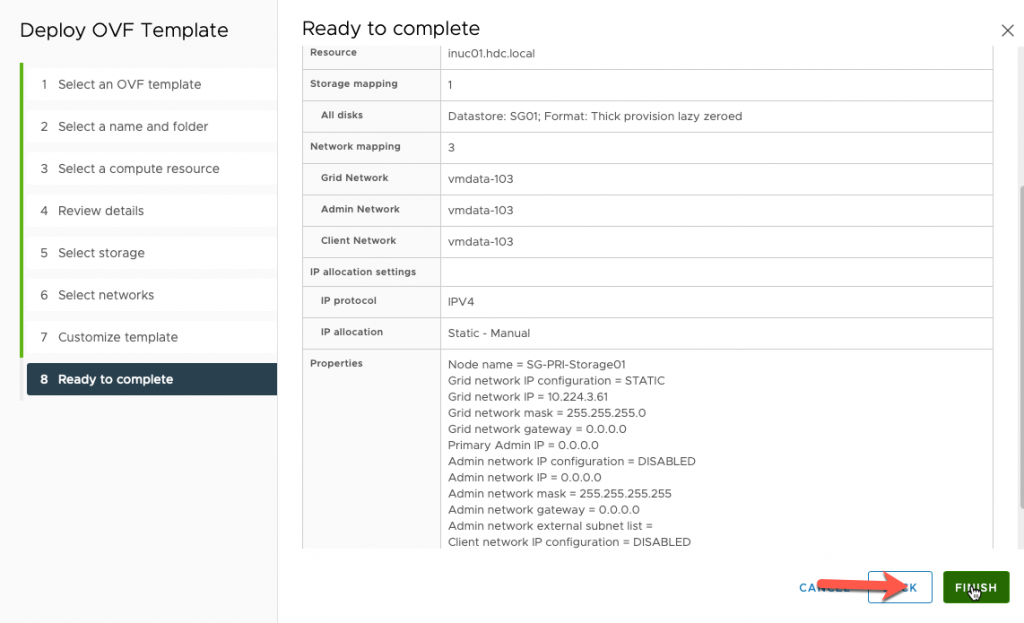
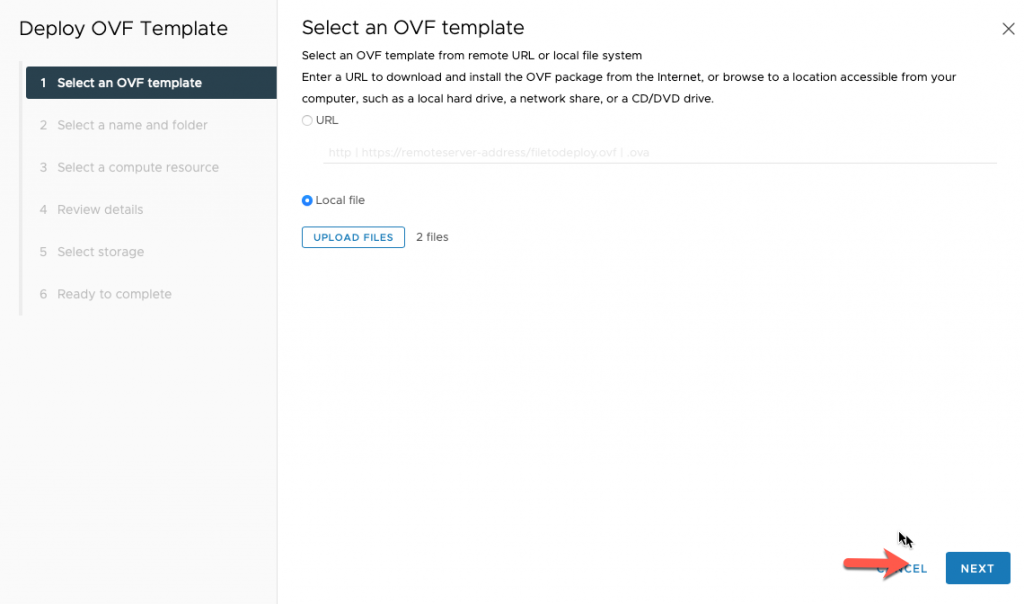
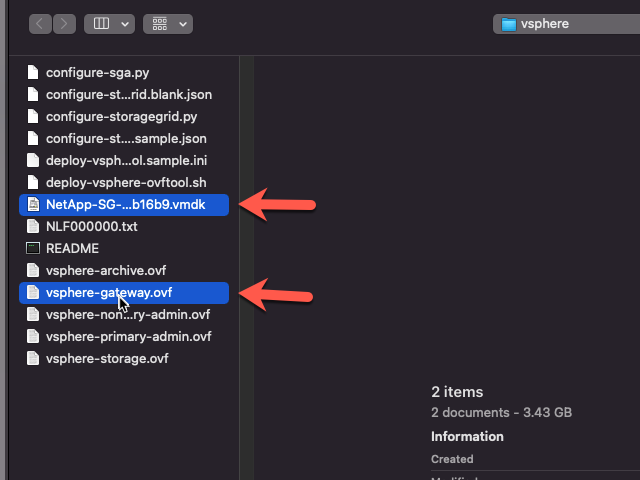
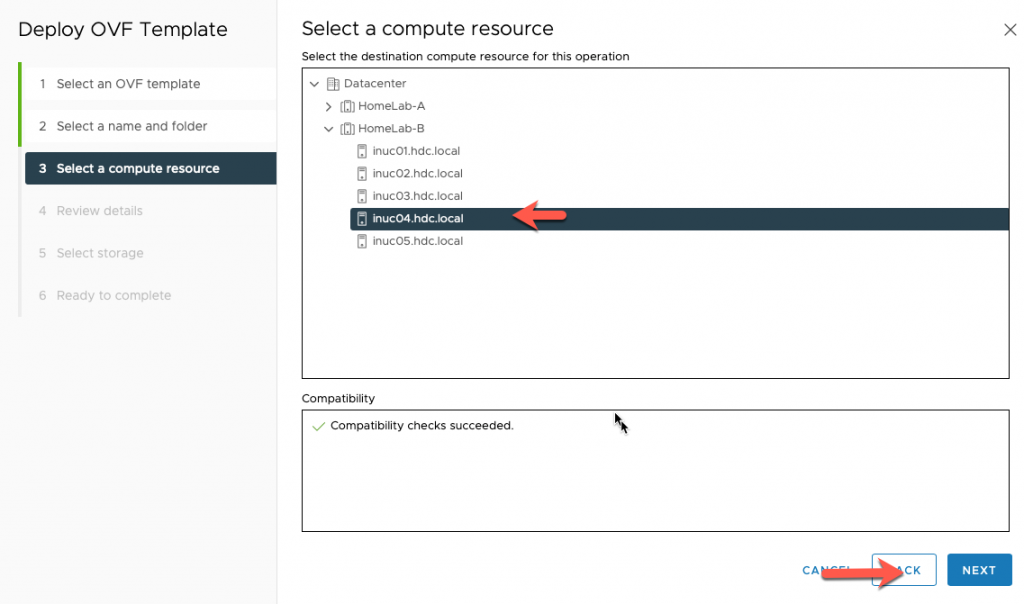
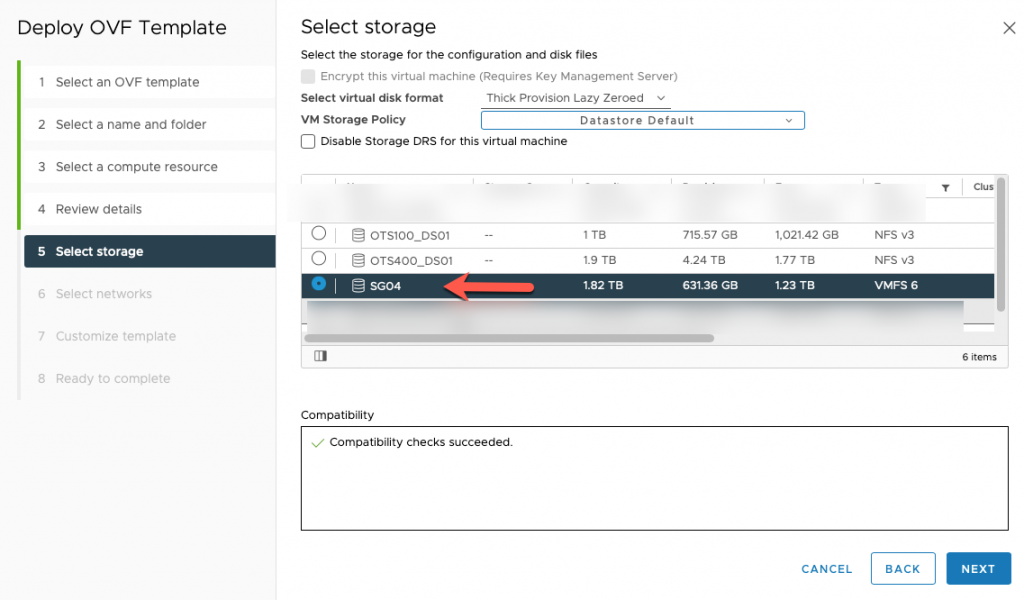
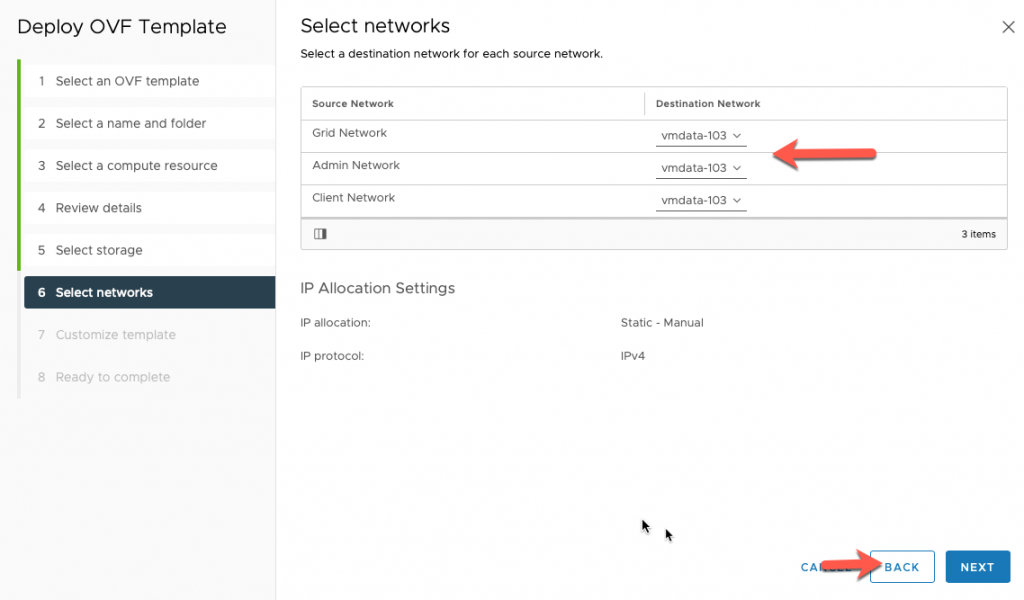
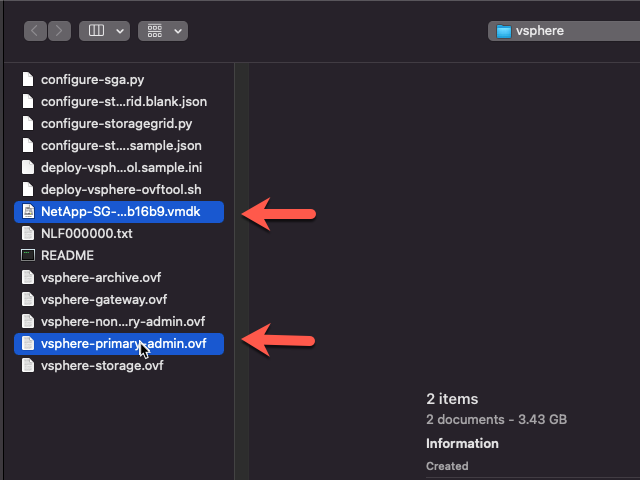
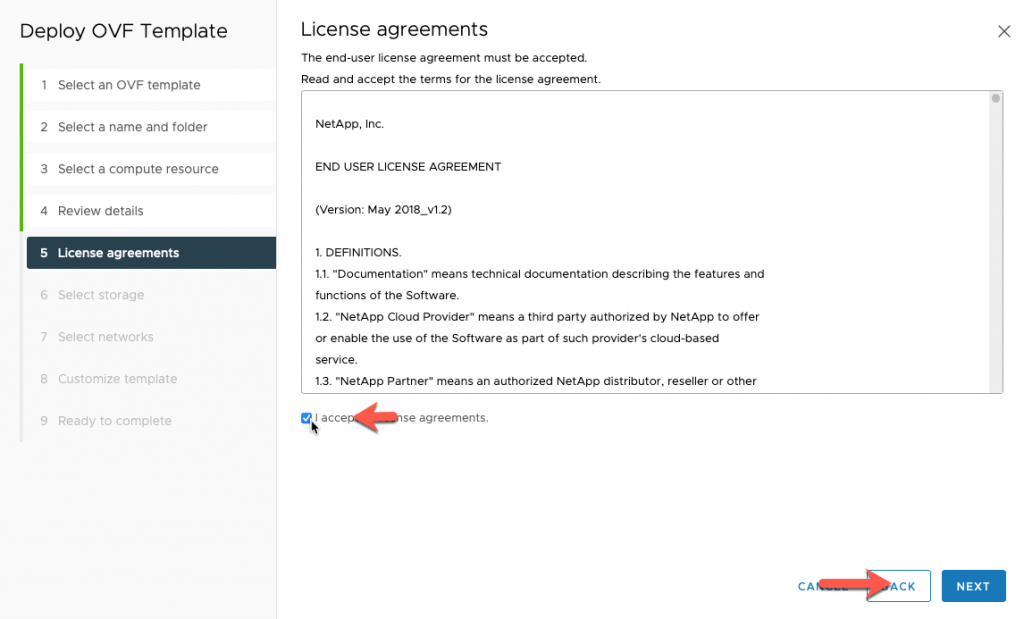
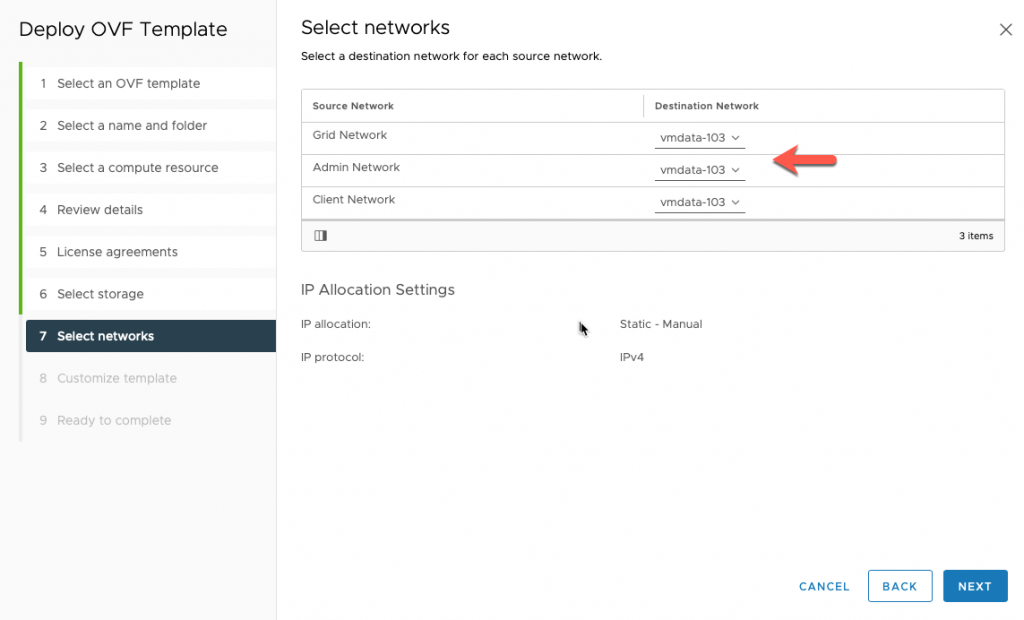
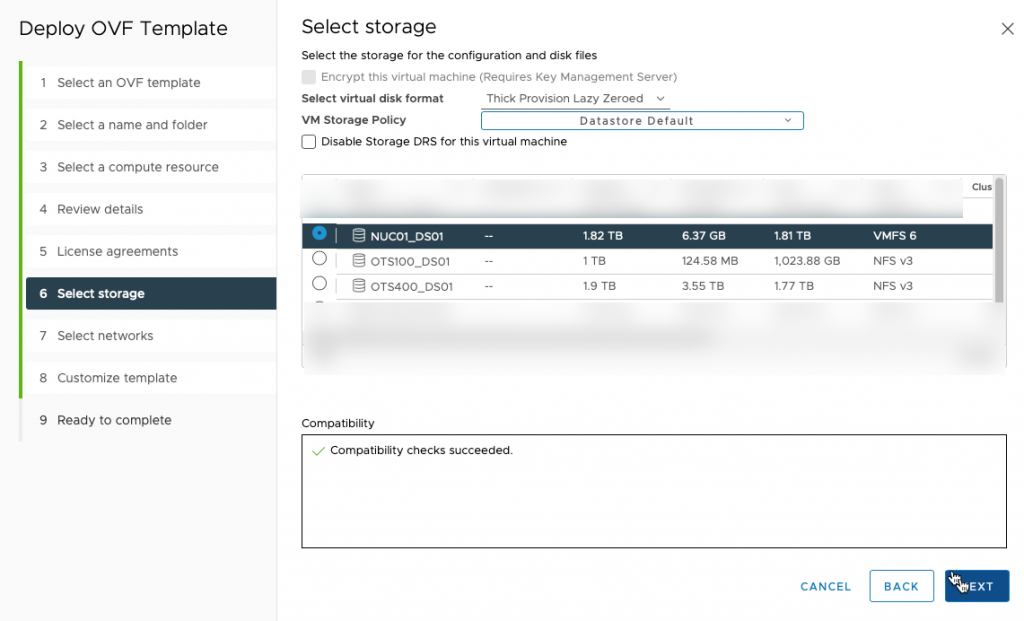
The deployment of the VMware StorageGRID is fairly straightforward, you need to select the vmdk along with the modified OVF template. One prerequisite or recommendation is to have forward and reverse lookup DNS entries.
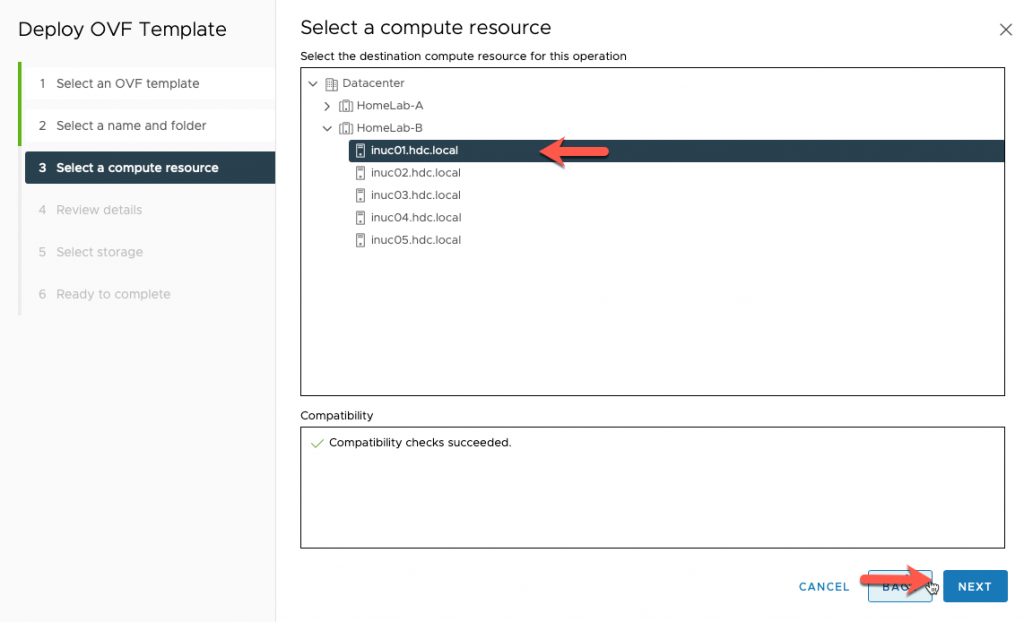
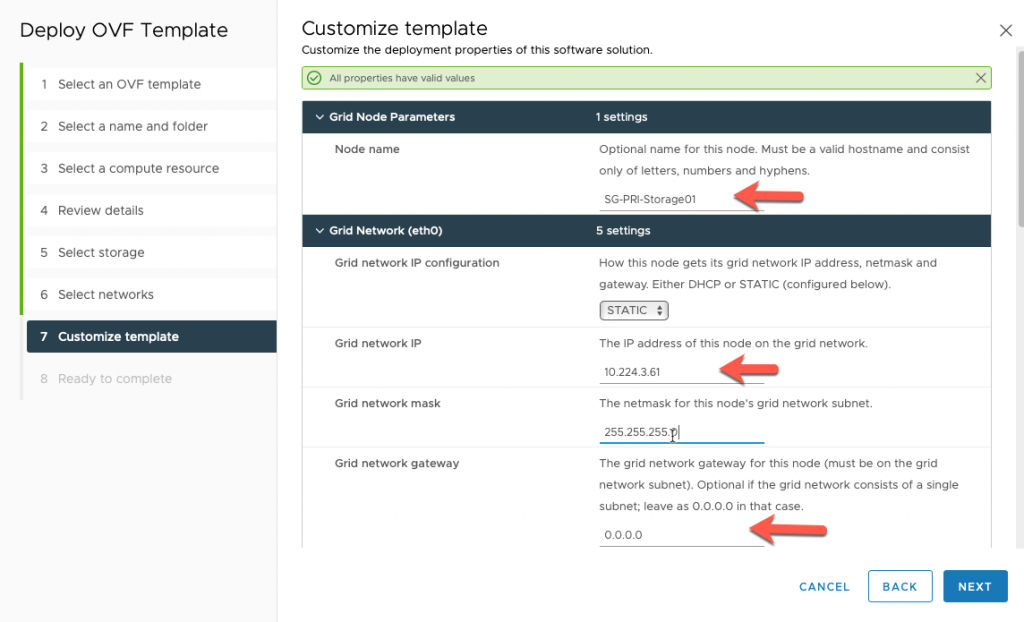
- StorageGrid Node1 on iNUC01 – SG-PRI-Storage01 – 10.224.3.61
- StorageGrid Node2 on iNUC02 – SG-PRI-Storage02 – 10.224.3.62
- StorageGrid Node3 on iNUC03 – SG-PRI-Storage03 – 10.224.3.63
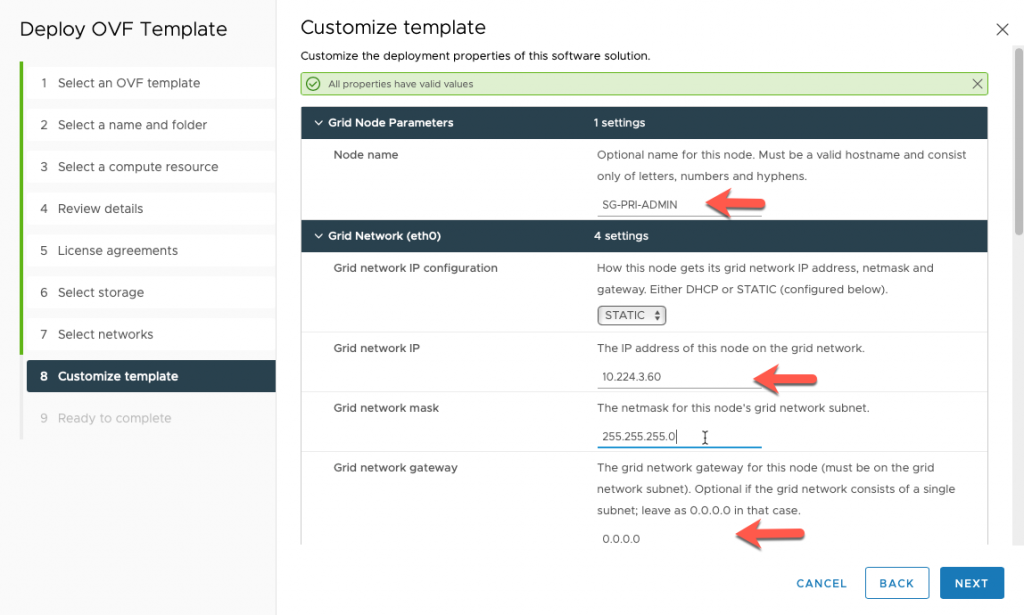
- Admin Node1 on iNUC04- SG-PRI-Admin01 – 10.224.3.60
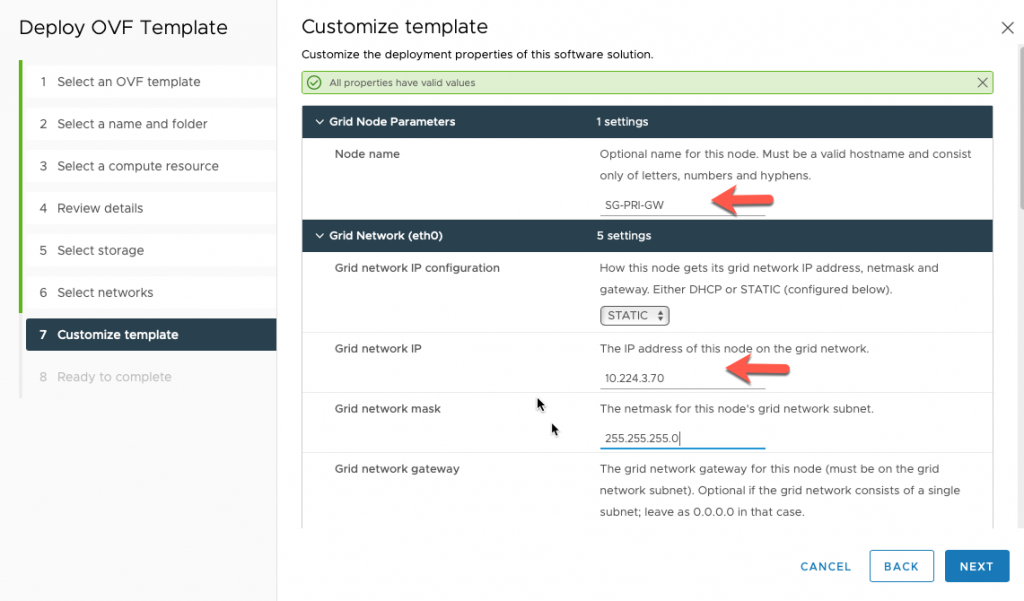
- Gateway Node1 on iNUC04 – SG-PRI-Gateway01 – 10.224.3.70


Since my Intel NUCs are on a 1GB connection, I am waiting for this deployment to complete before proceeding to the next Storage Node, you speed milage may vary…
Once the deployment of the first Storage Node is complete, repeat the process for Storage02 and Storage03, making sure to place them on separate Intel NUCs.
Make sure to keep VMs powered off until all components are deployed.
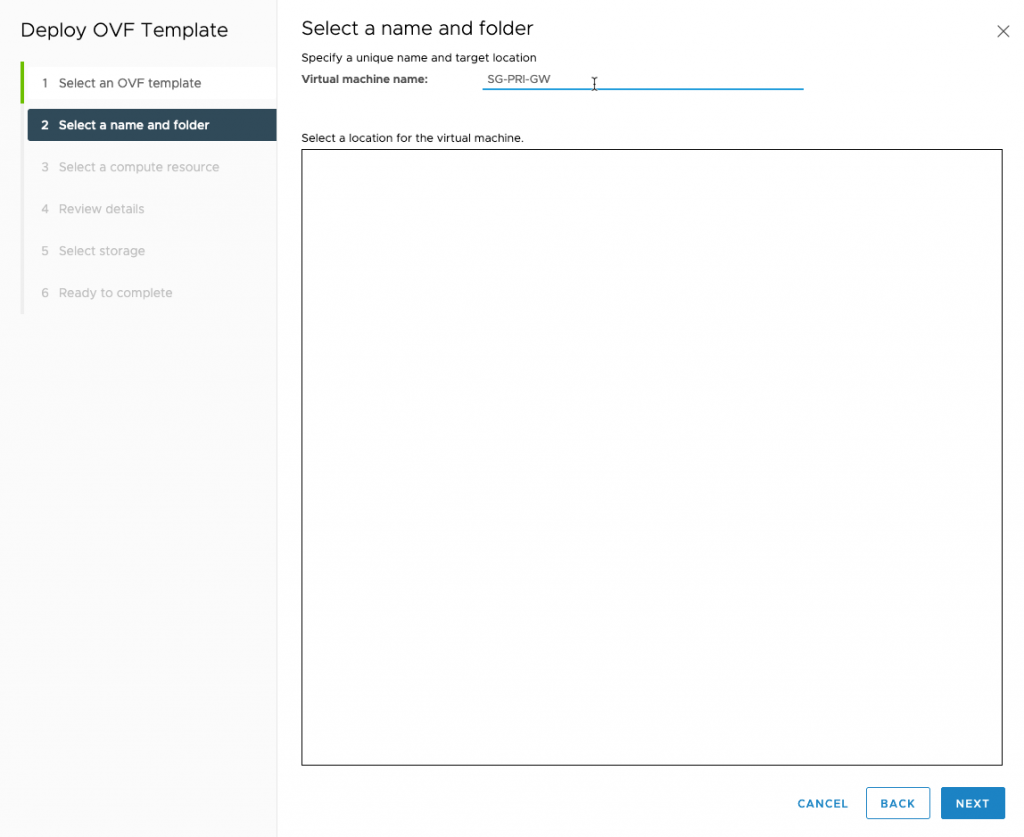
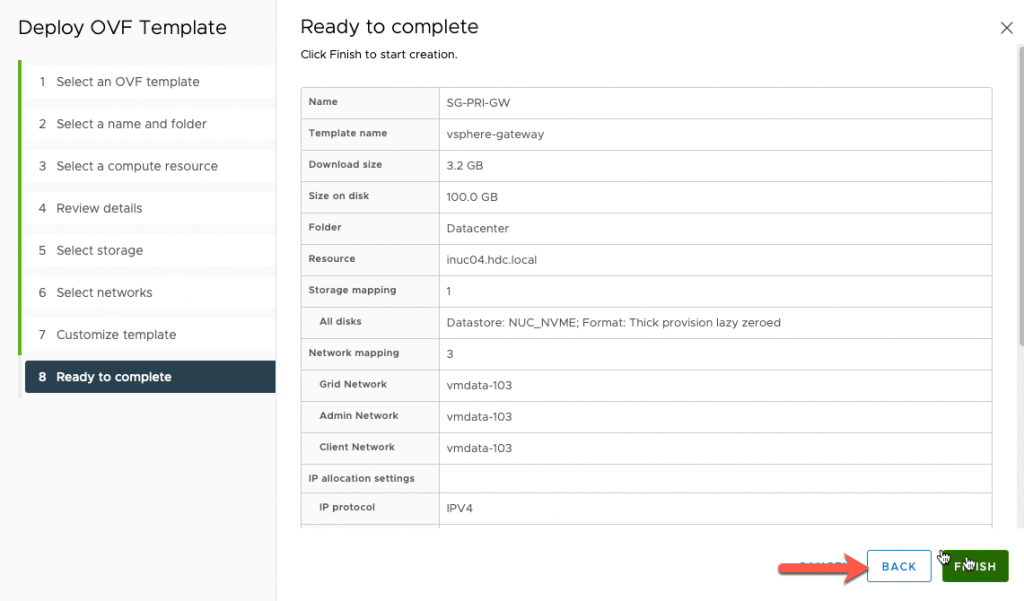
Deploy Gateway Node
The procedure is similar on how I deployed the Storage Node, the only difference is, you need to select the VMDK and modified Gateway OVF Template.
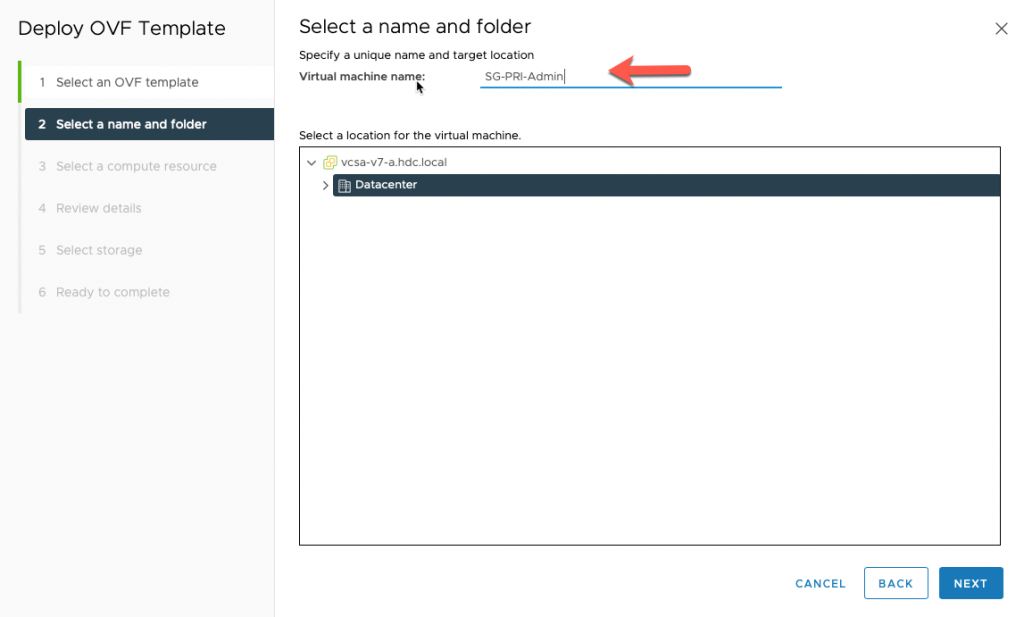
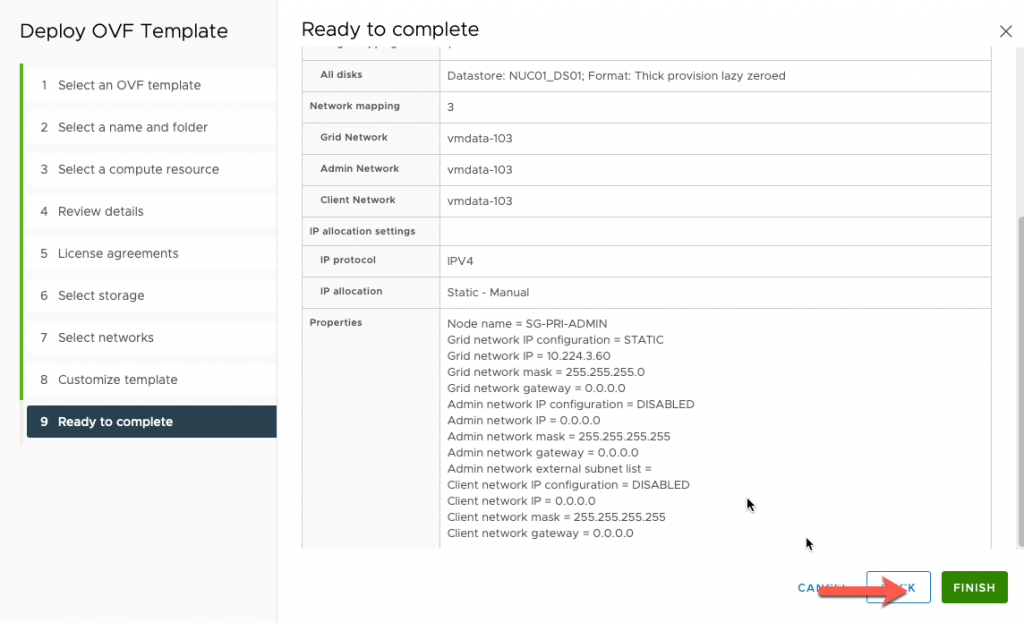
Deploy Admin Node
As with the previous StroageGRID component template deployments, the final Admin node should be a breeze.


Power on sequence of deployed StorageGRID VMs
Since these VMs are running on my Intel NUCs, and the compute resources are limited, I am powering the Storage Nodes up first.
After powering on each Storage Node VM, click on the VM Console to monitor the boot process. Once you see that the Storage Node is waiting for the Admin node to continue, you can proceed to the next step and that’s powering on the Gateway Node.
After powering on the Gateway Node VM, click on the VM Console to monitor the boot process. Once you the the Gateway Node is waiting for the Admin node to continue, you can proceed to the next step and that’s powering on the Admin Node.
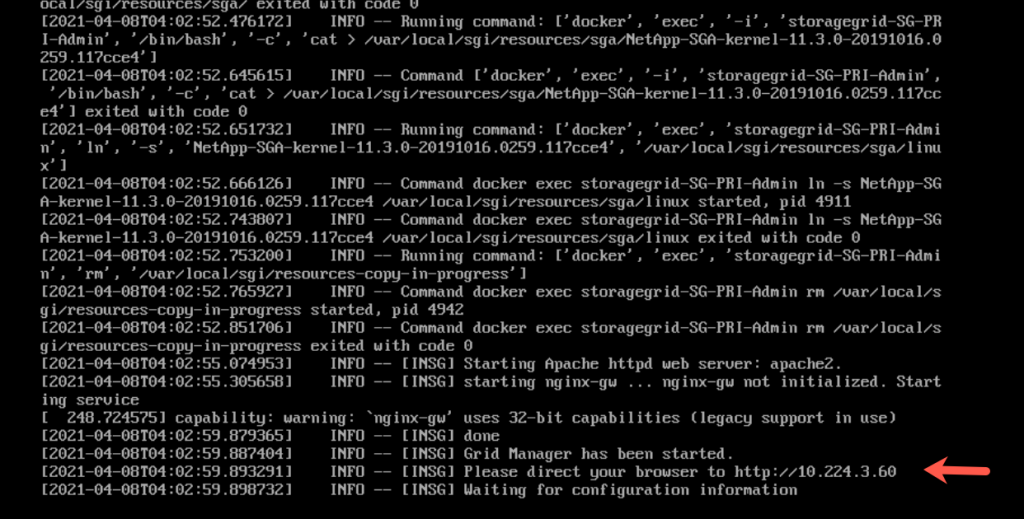
After powering on the Admin Node, Click on the VM Console to monitor the boot process. Once you see the message to direct your browser the the IP address of the Admin Node and waiting for configuration, you are ready to configure the StorageGRID.
Powering on the StorageGRID VMs may take some time, please be patient.
In my next blog post, I will go over the steps to Deploy and Configure the StorageGRID 11.3