In my previous blog post, I demonstrated how to deploy VMware Site Recovery Manager (SRM).
Today I am continuing with the configuration of the SRM Virtual Appliance. After powering on the VM, using the remote console, validate the appliance has booted and has the appropriate IP address.
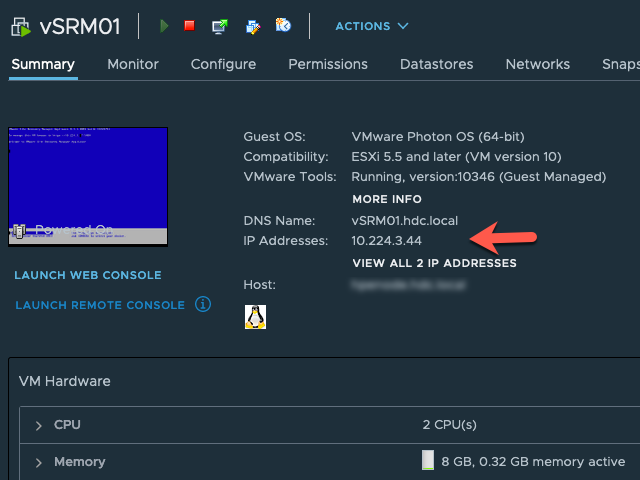
Next, you will need to open a NEW web browser and go to the https://10.224.3.44 or address you used during the deployment.
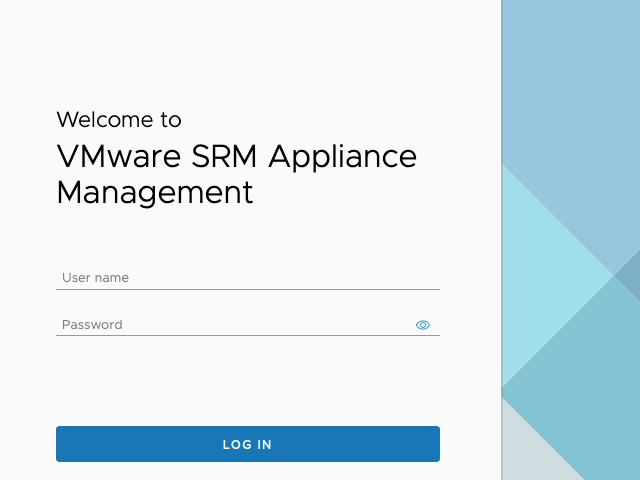
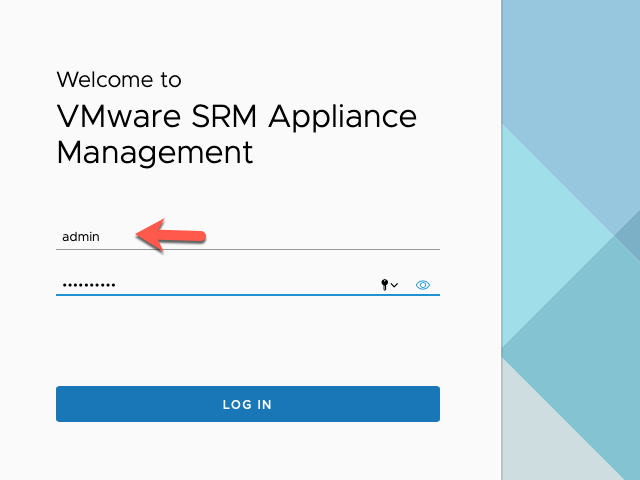
Login using ‘admin’ and the password you chose during the OVF deployment.
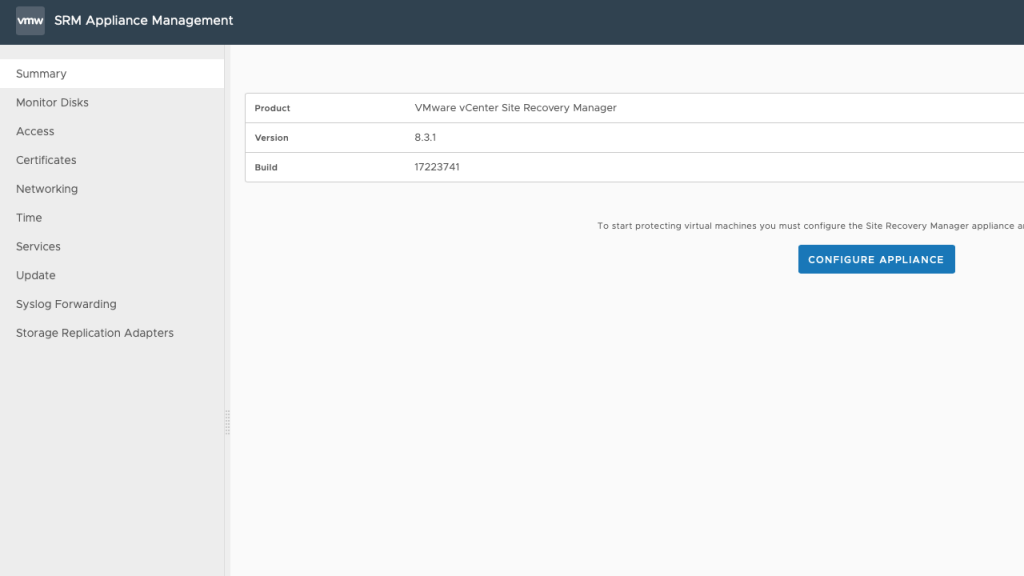
Before clicking on ‘Configure Appliance’ we need to validate a few items like DNS, NTP, and configure the Storage Replication Adapter.
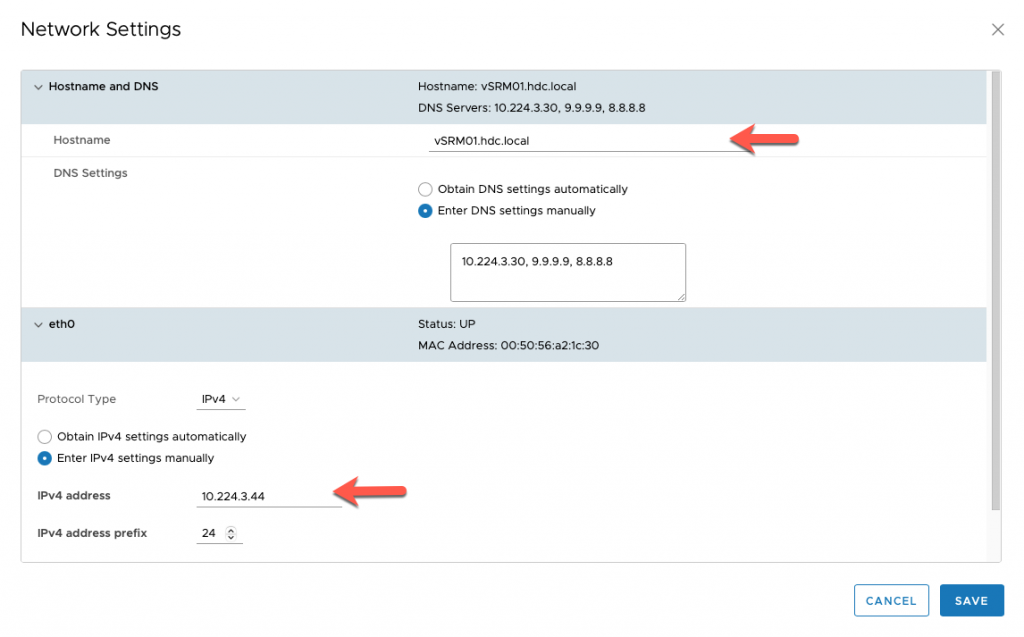
Select the Networking tab, validate that DNS, FQDN, and Static IP address are assigned.
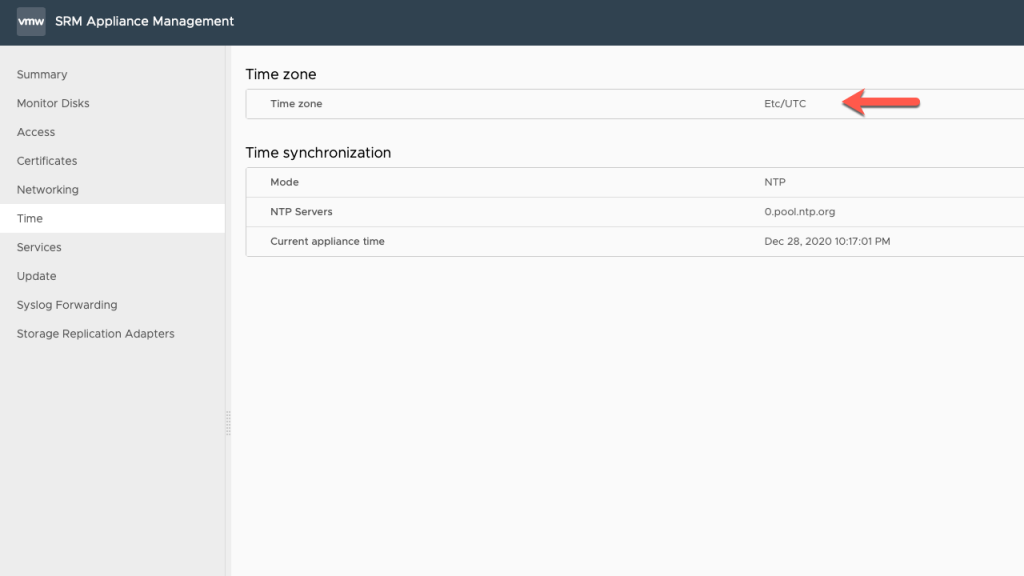
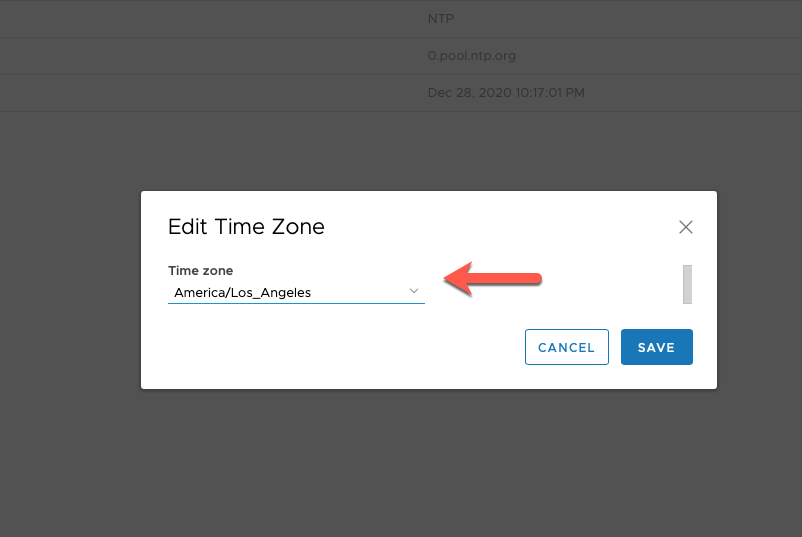
Select the ‘Time’ tab and modify the TimeZone to reflect your specific area, for me it’s Los Angeles. I am also using 0.pool.ntp.org as my time server.
NOTE: It is important that the time between vCenter and SRM are not skewed.
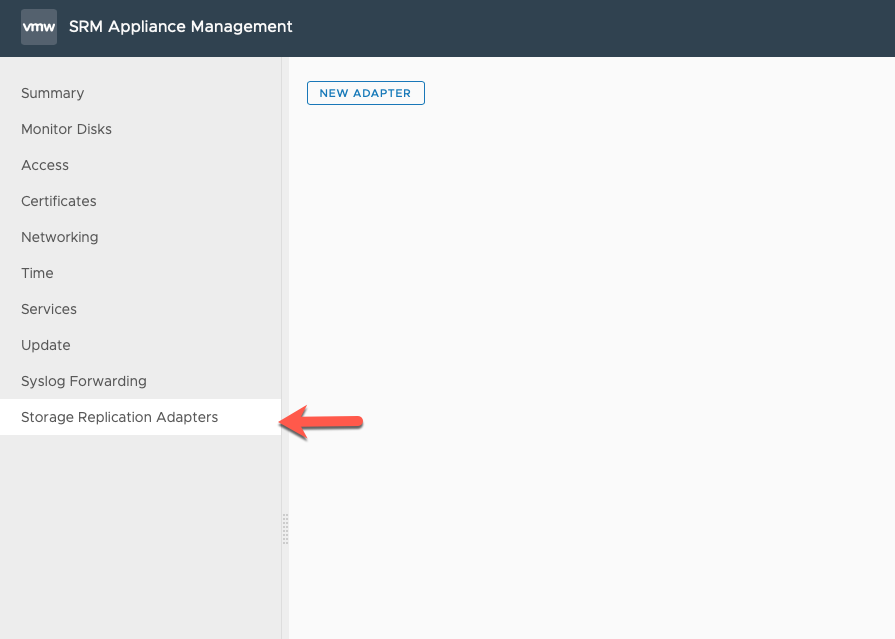
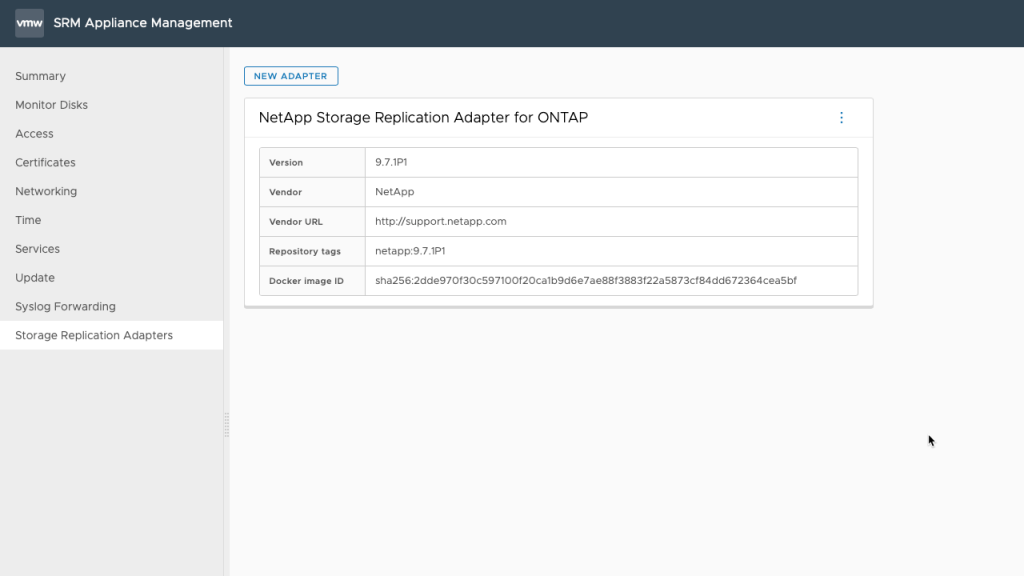
Select the Storage Replication Adapter tab, and select NEW Adapter.
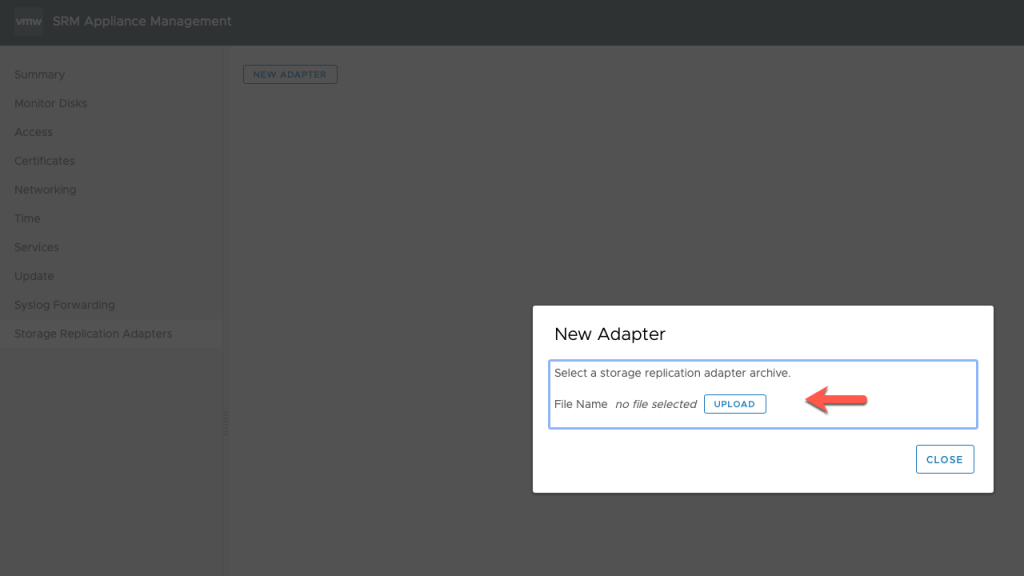
Since my lab consists of two NetApp Ontap Select (OTS) storage arrays, I have downloaded the NetApp Storage array adapter from the support site.
Select the Upload button and add the downloaded NetApp Storage Array file.
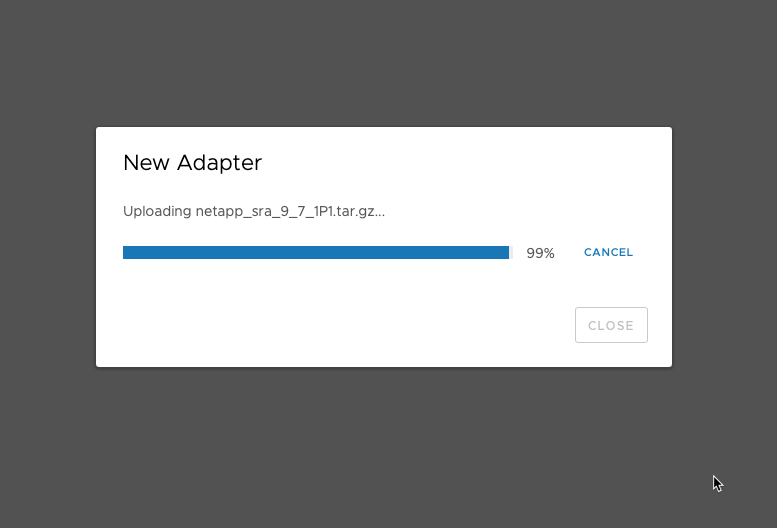
Now the storage adapter will be uploaded and configured, this may take a few minutes.
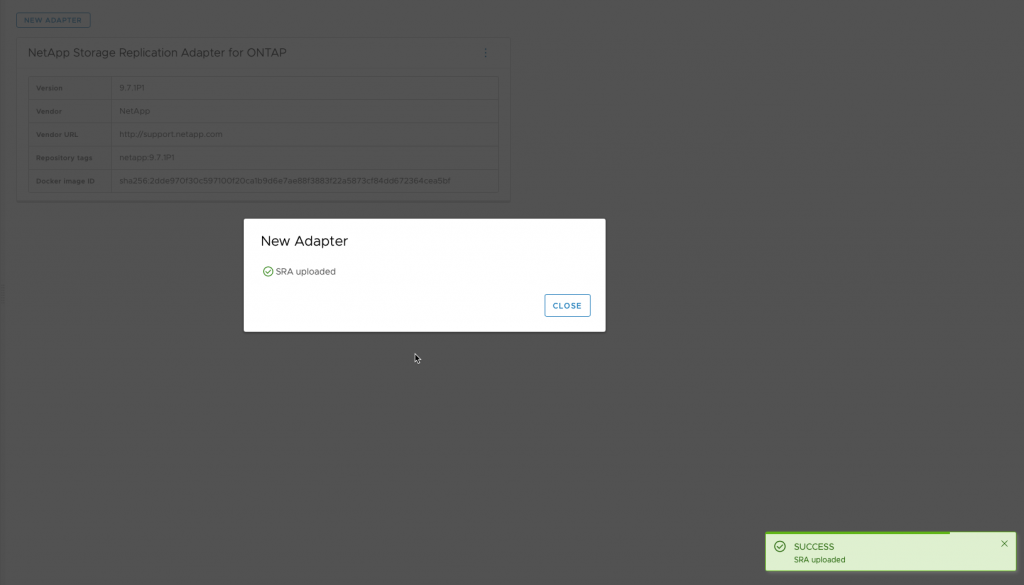
Repeat the steps for Disaster Site SRM VM.
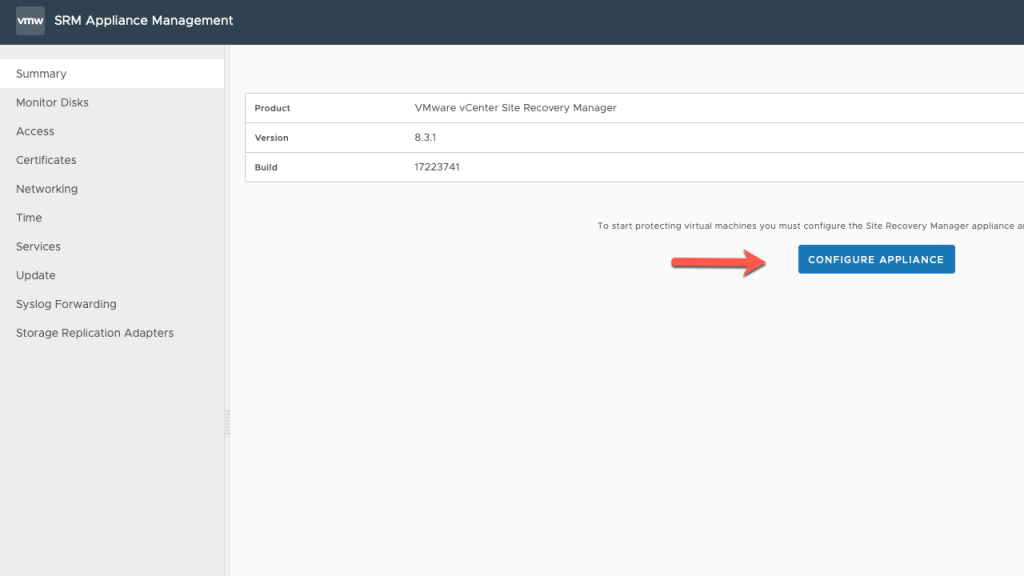
Connect to vCenter
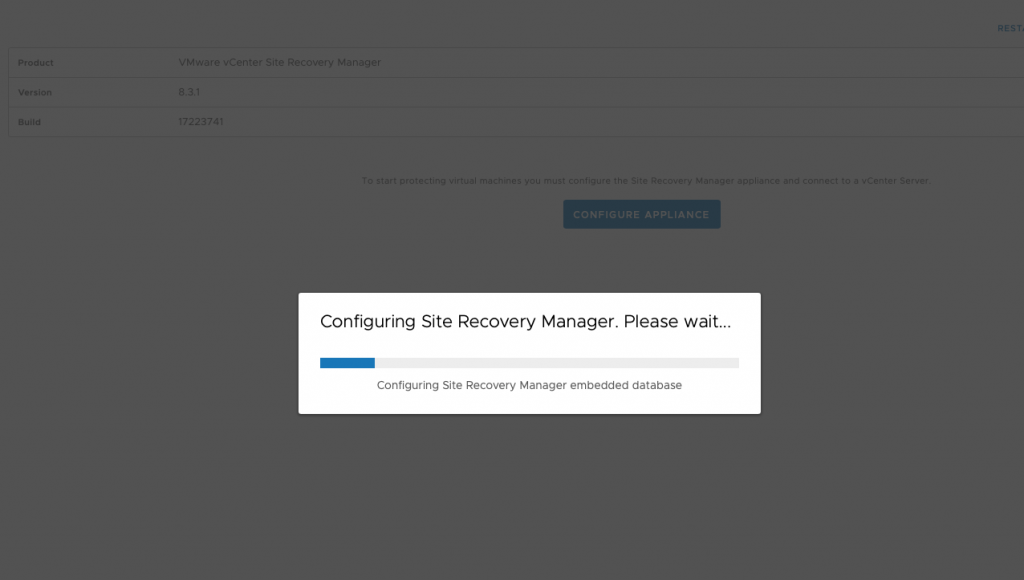
On the ‘Summary’ tab, click on the ‘Configure Appliance’ button.
During the next few steps, we are registering the SRM appliance with vCenter.
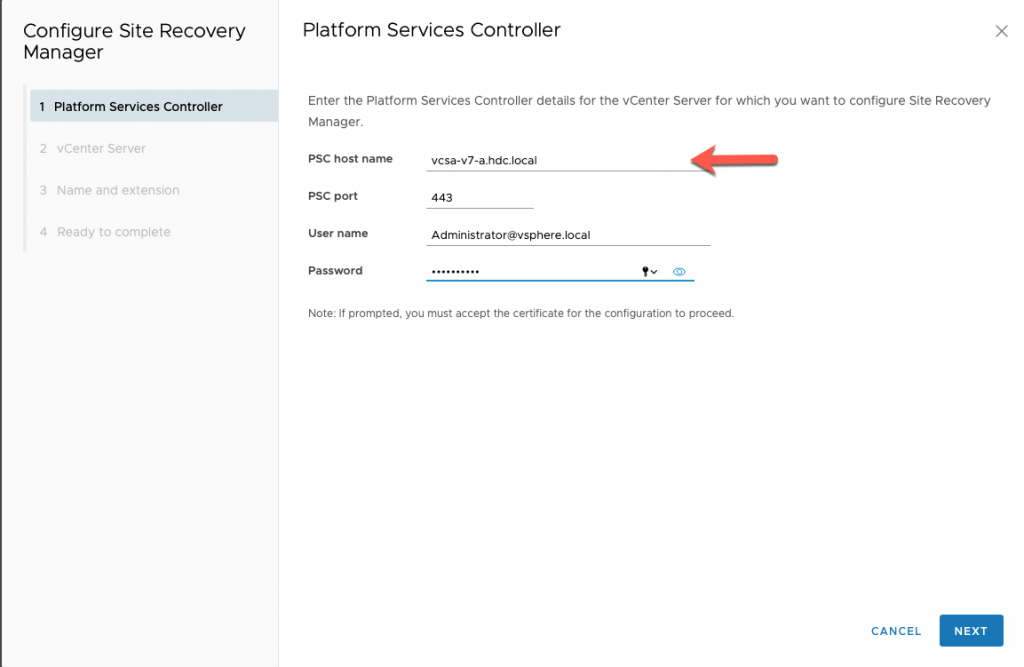
Enter FQDN of vCenter Name
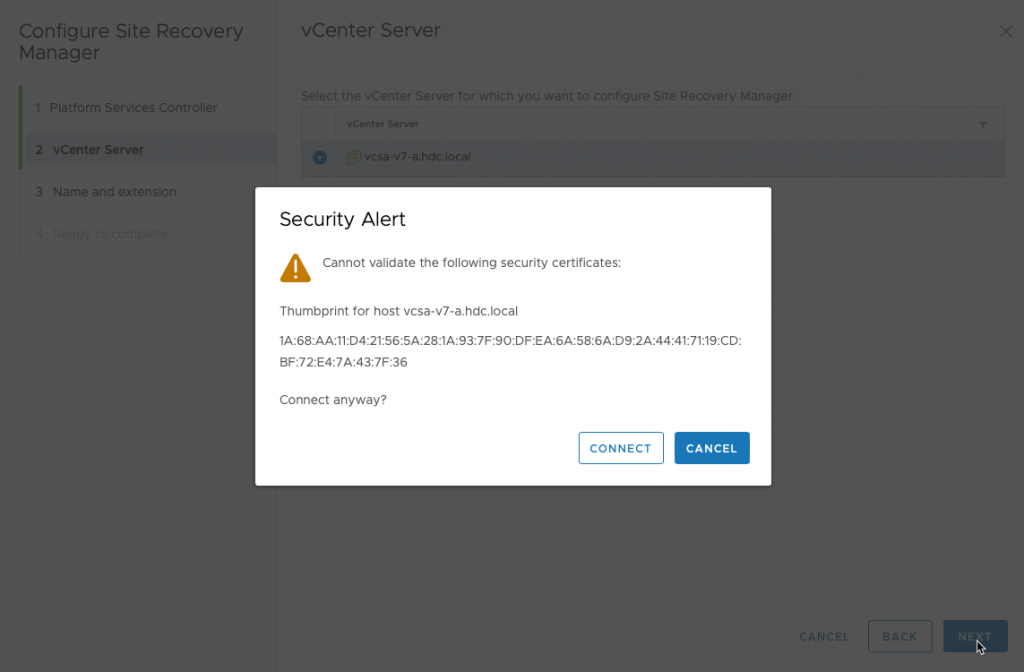
Acept the Security Certificate
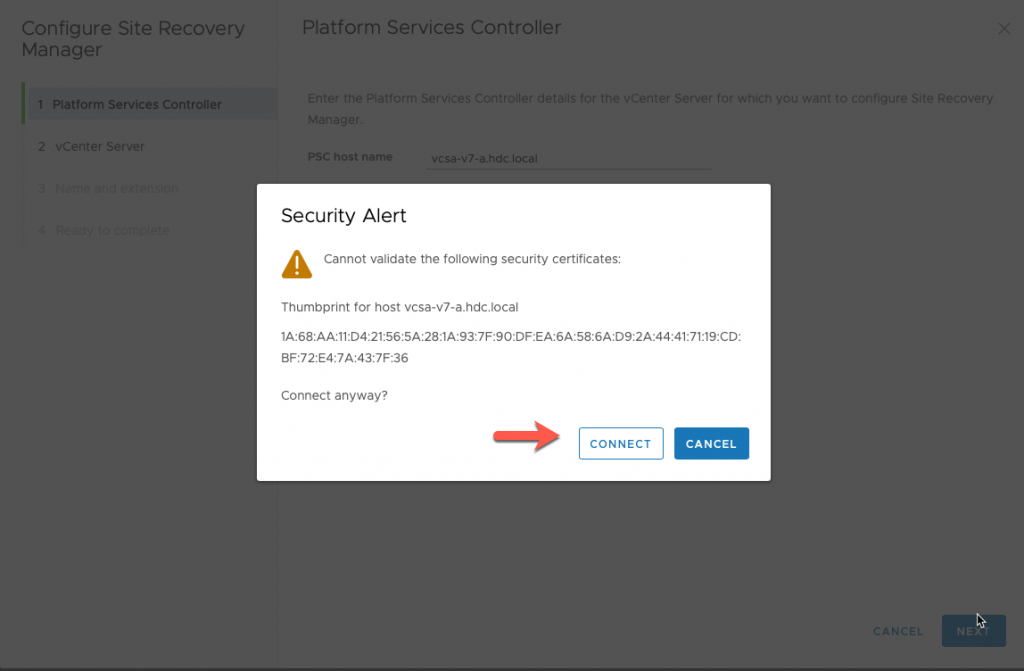
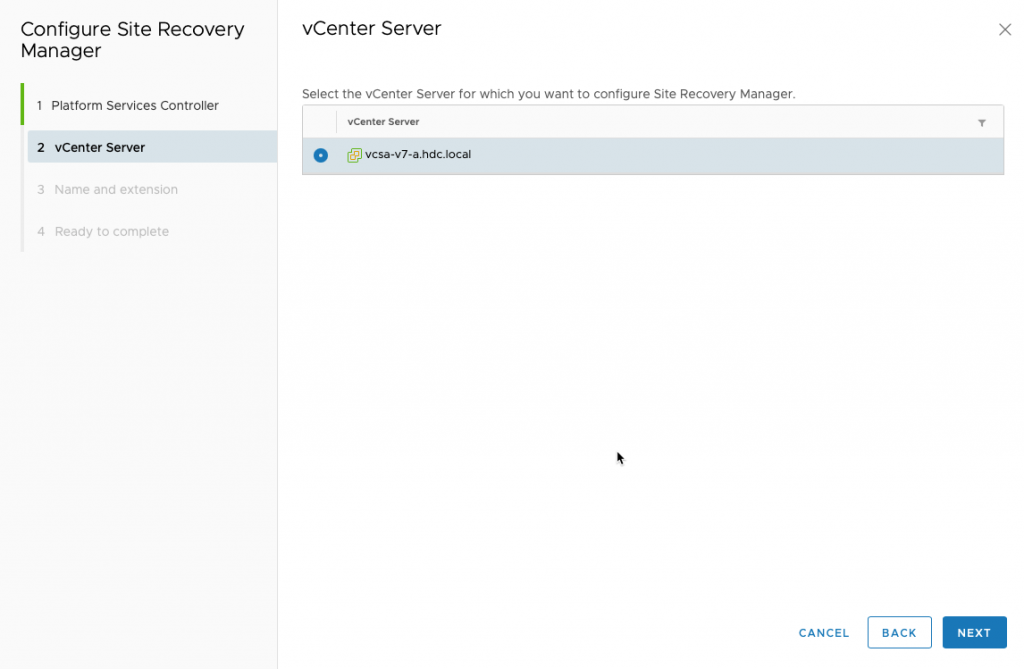
Validate vCenter is correct and click Next.
Acept the Security Certificate
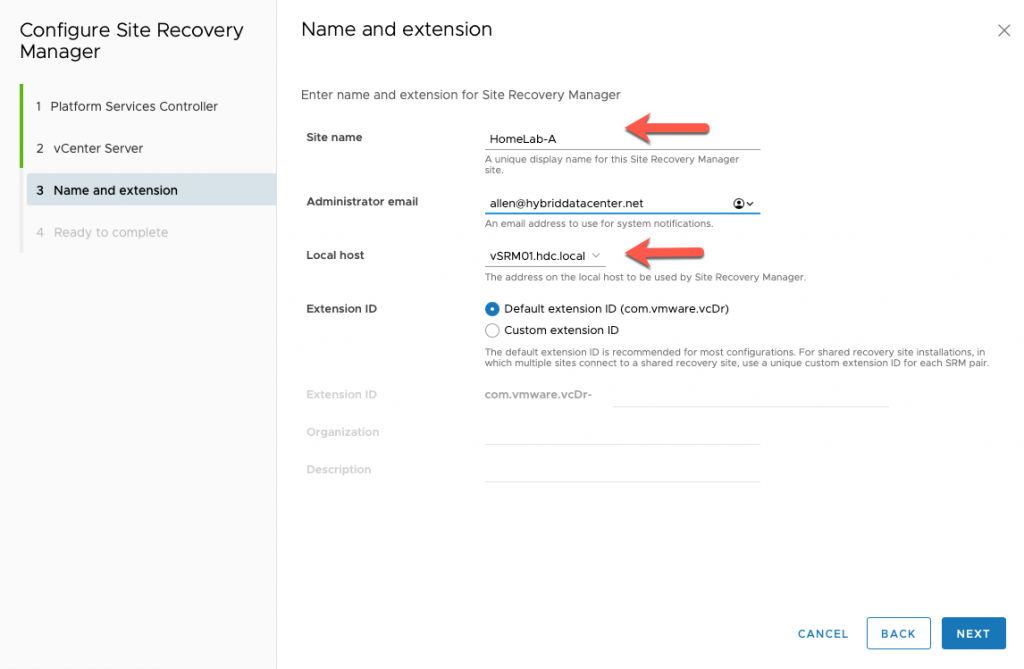
Fill out the Name and Extension, I called my Production Site ‘HomeLab-A’
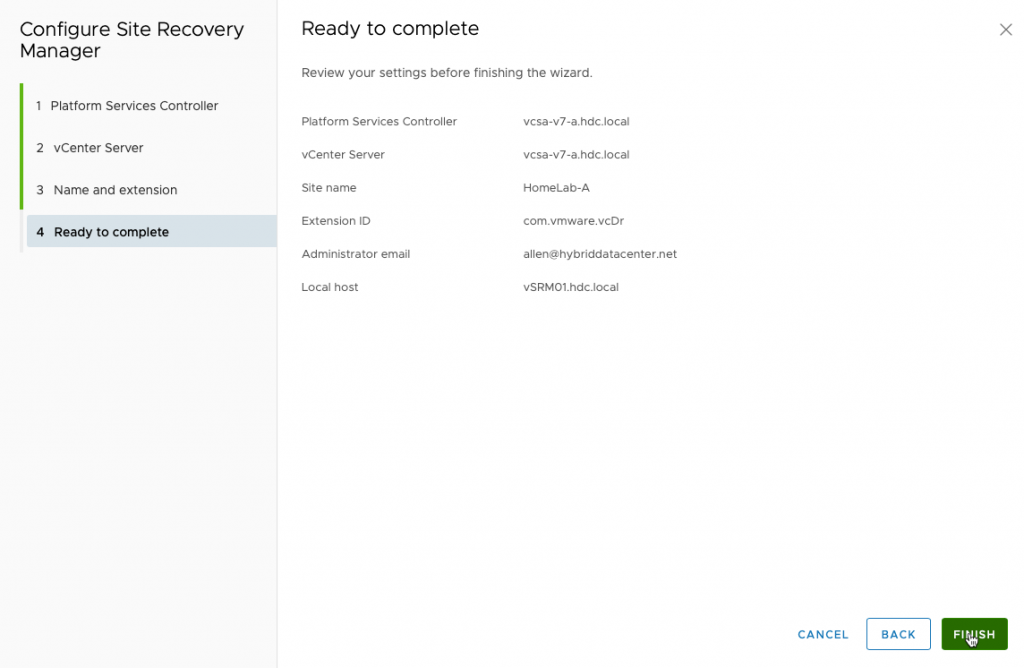
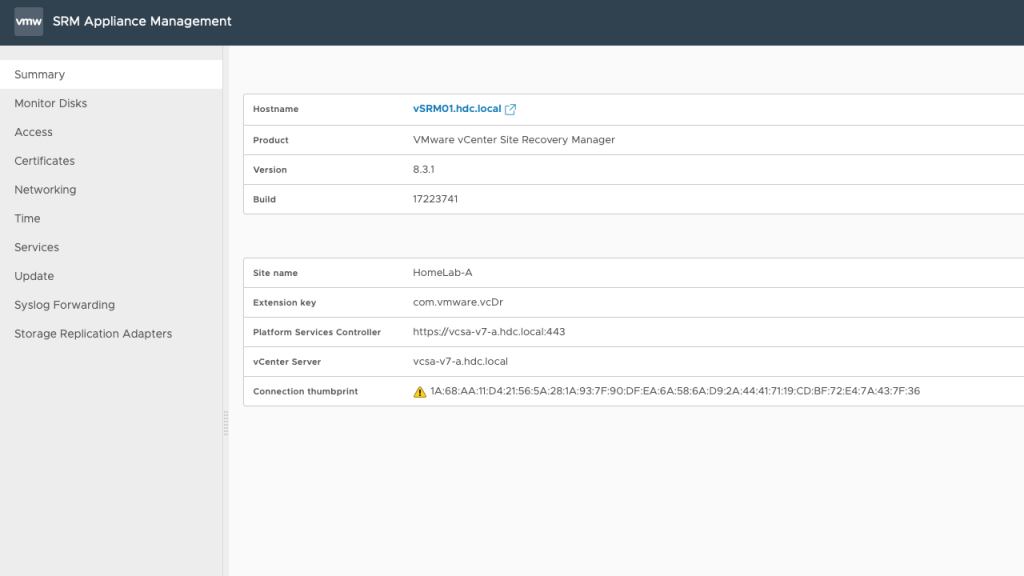
Validate Settings and click Finish.
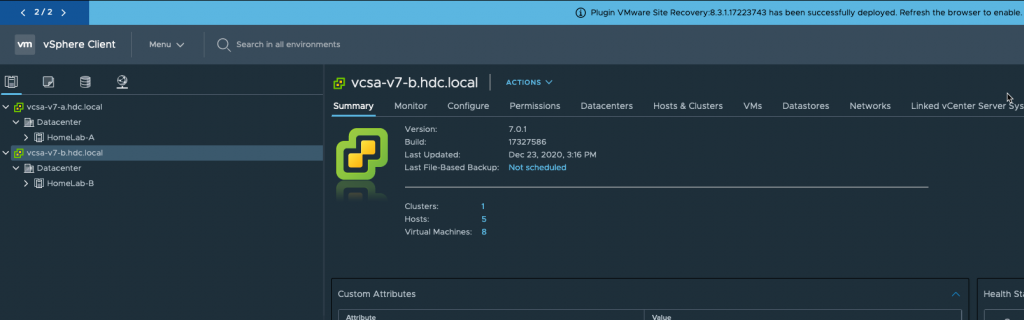
After a successful deployment of VMware SRM, you should see it registered with vCenter.
Now log out of vCenter and log back in, you will see a message you have a NEW SRM plugin detected.
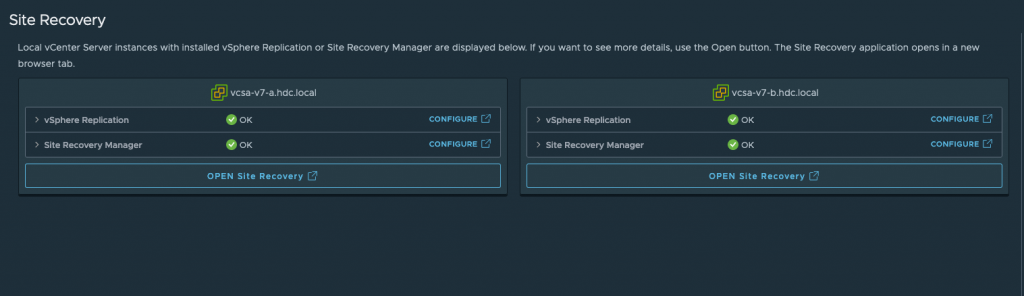
Click on Menu, and Site Recovery.

If you have ‘Green’ check marks on both vSphere Replication and vSphere SRM. You have successfully deployed SRM and are ready for the next step and that is creating a ‘Site Pair”.
NOTE: Make sure to repeat these steps on the Disaster Site before proceeding.
In my next blog post, I will go through the steps of creating a ‘Site Pair’.